The Wood Burning Kiln
Lots of Photos below Text
This is the wood burning kiln I built for pottery firing. I am showing the building process and the first couple of firings to give some idea of my pottery process, and some of the preparations necessarily for this type work. Most of the photos don’t need explanation, but here are a few comments that might be interesting.
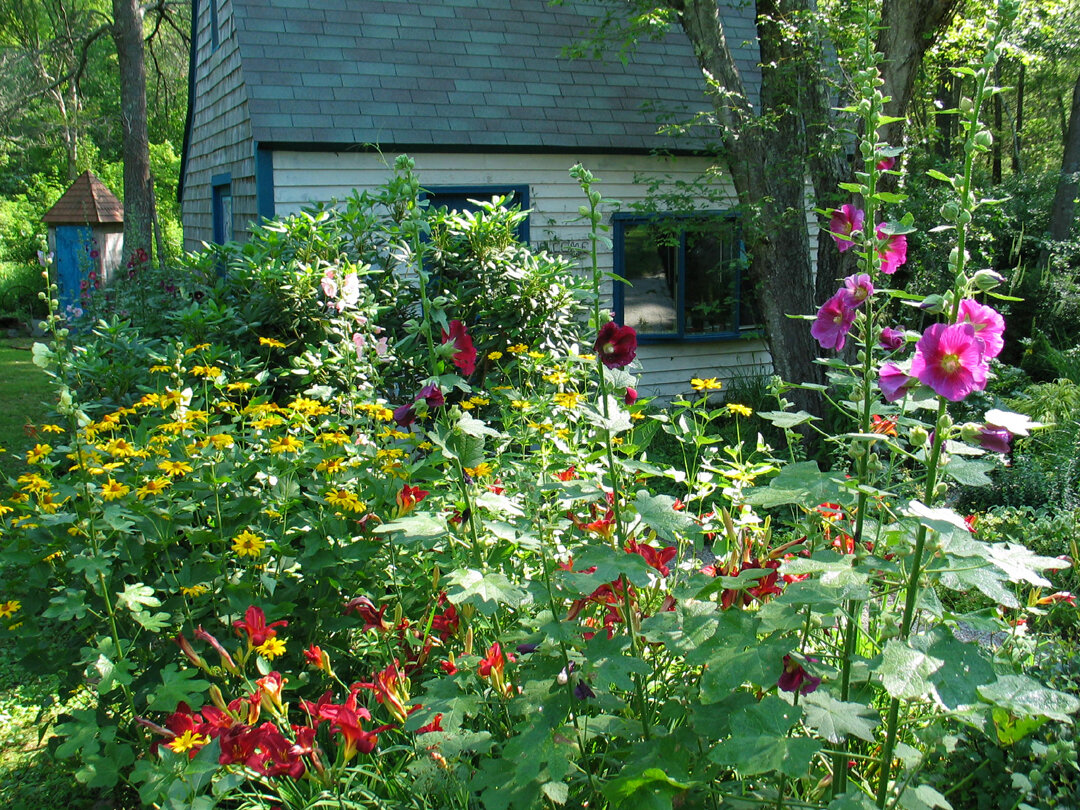
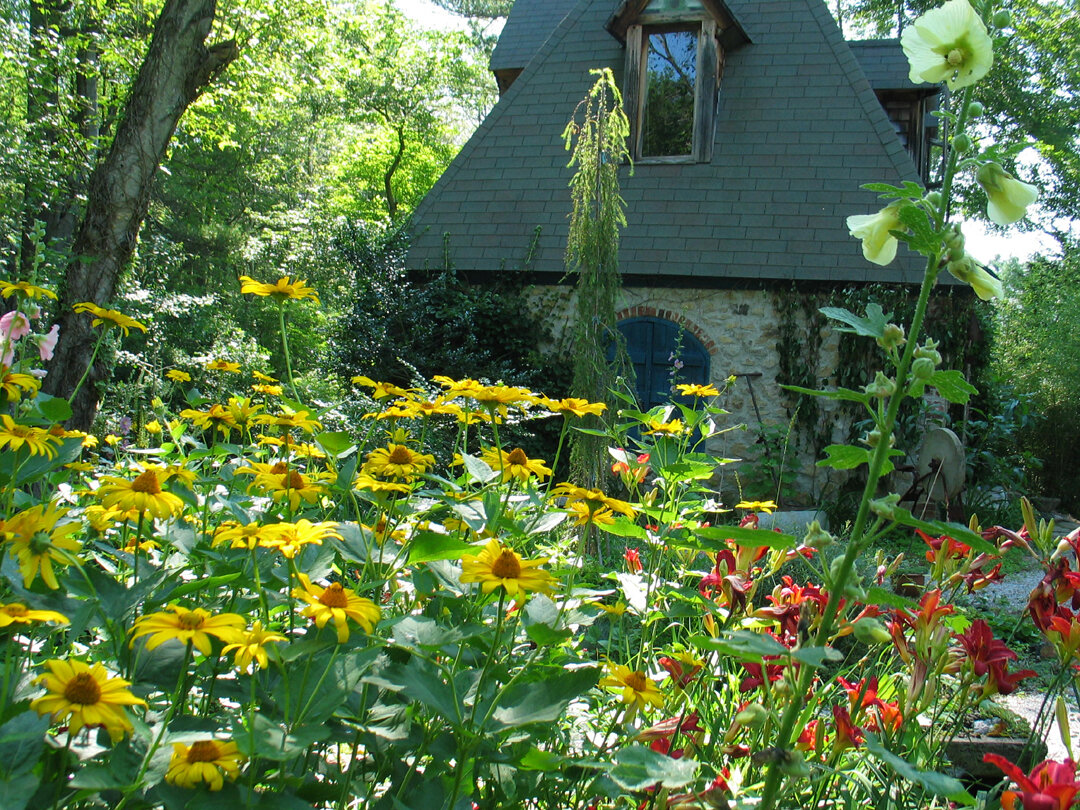
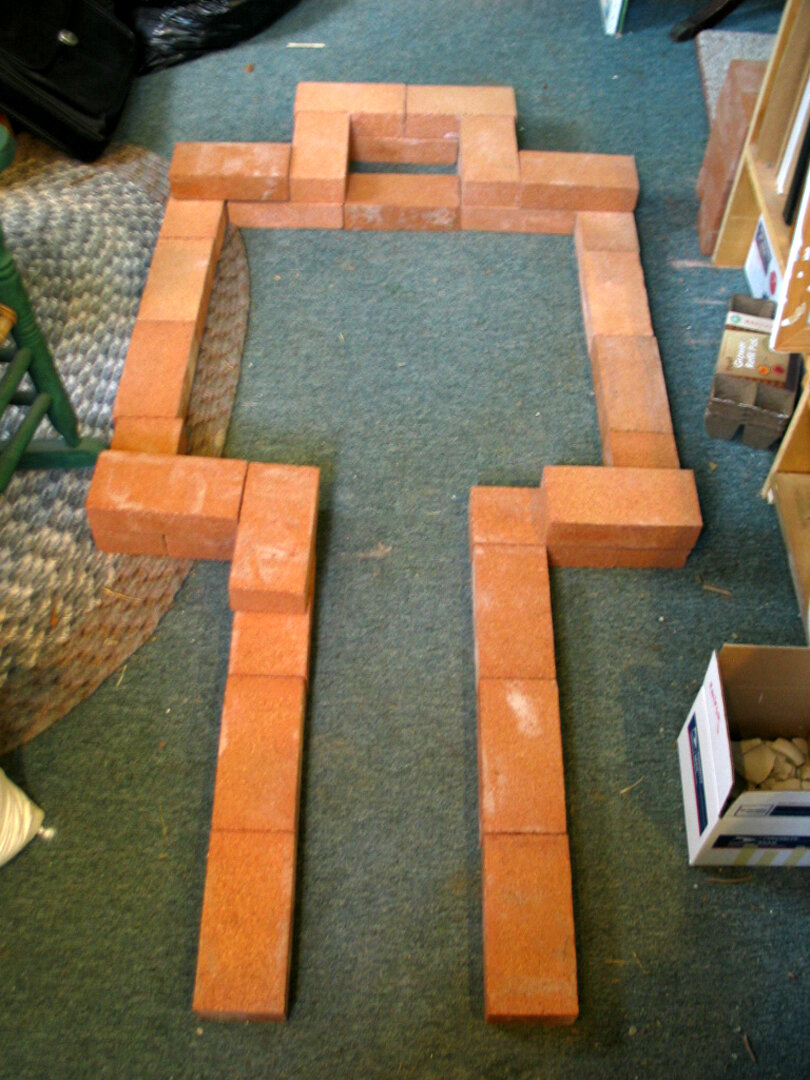
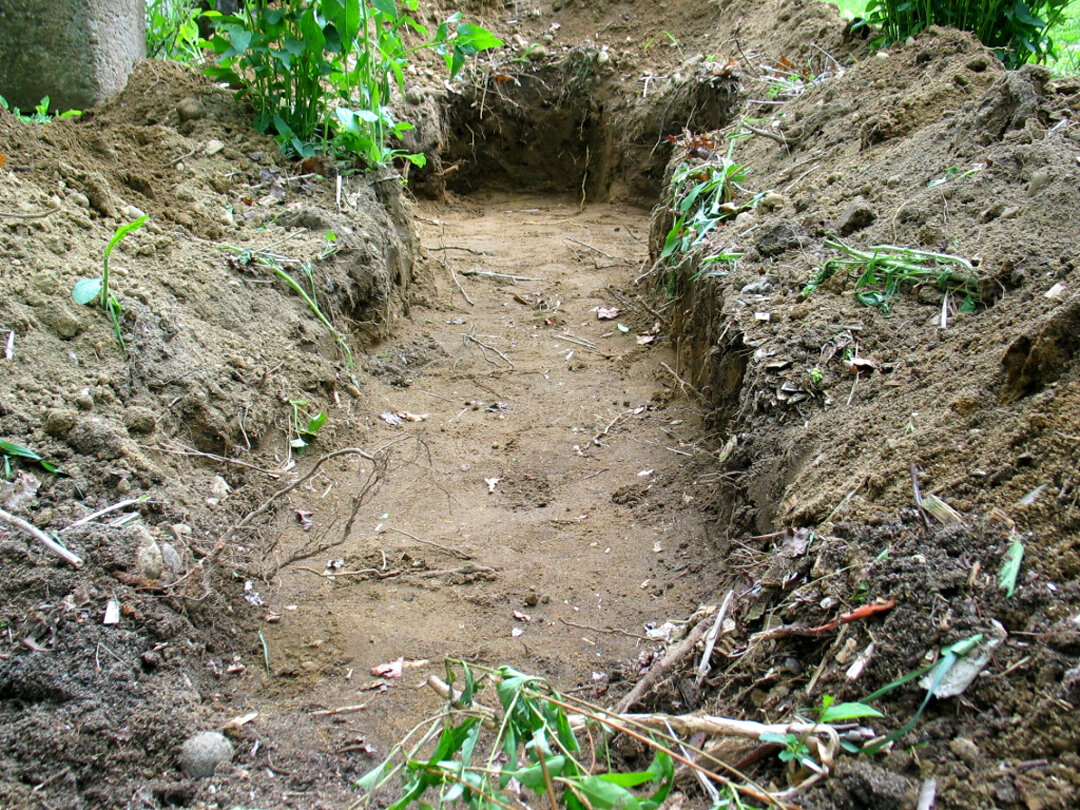
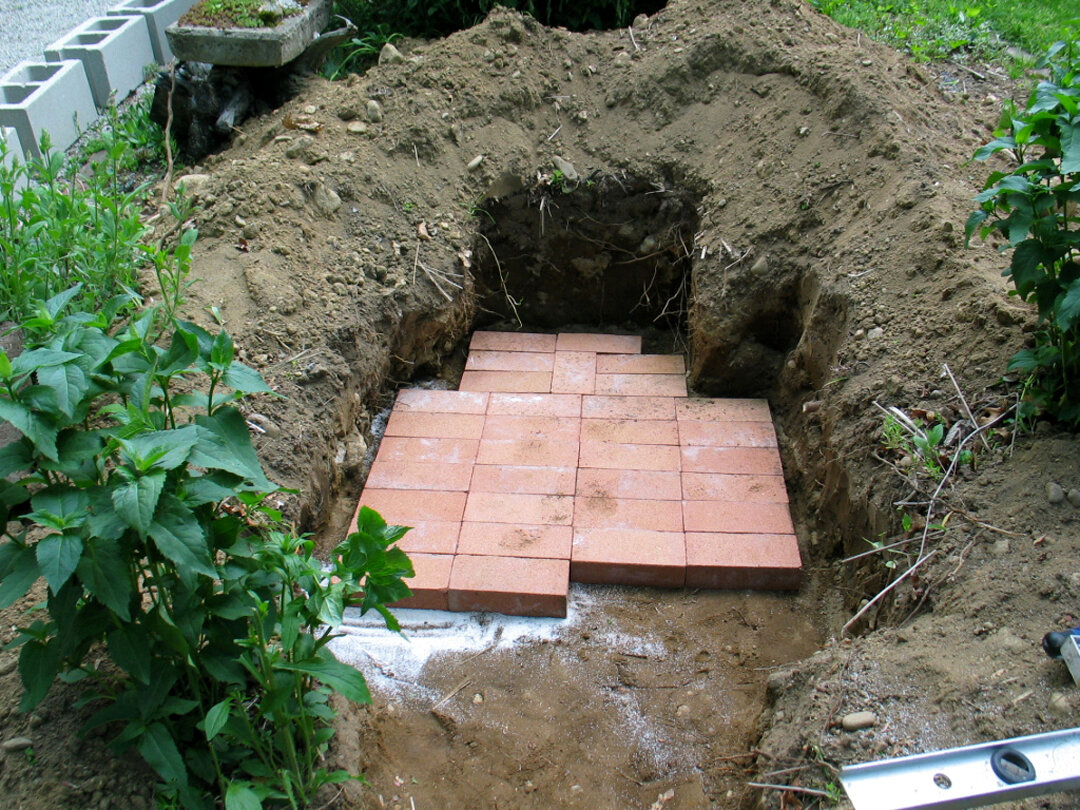
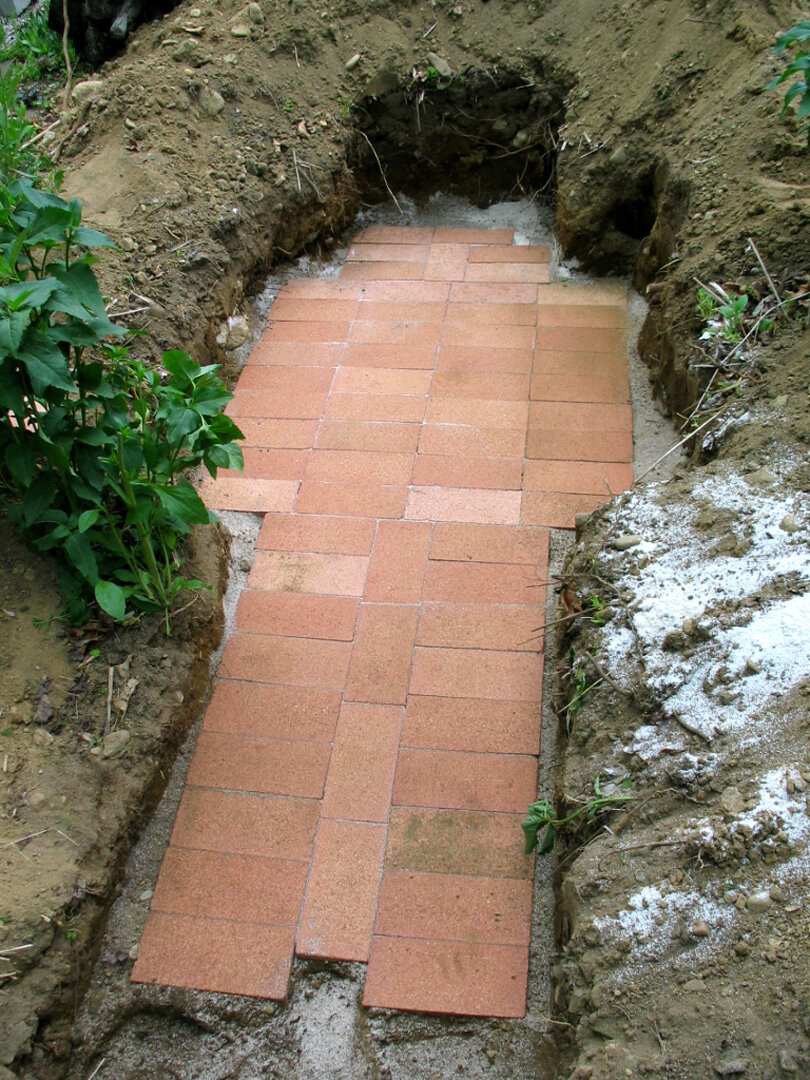
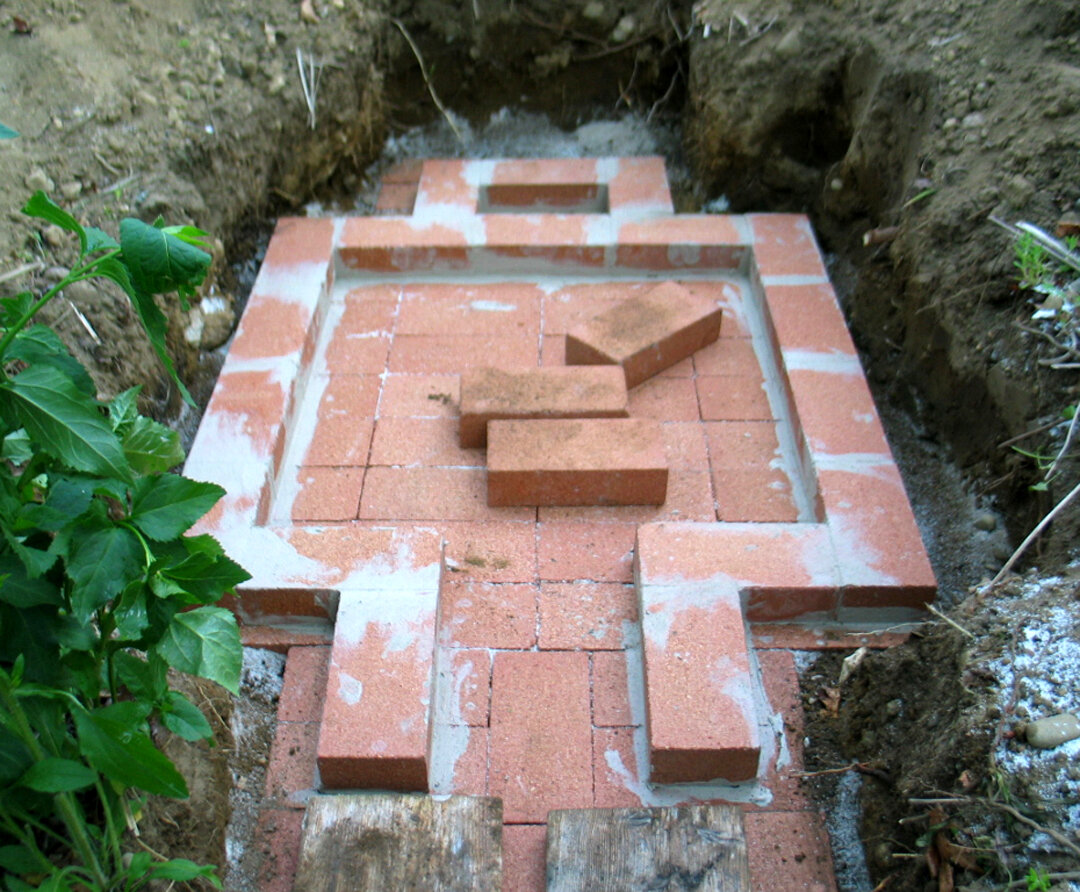
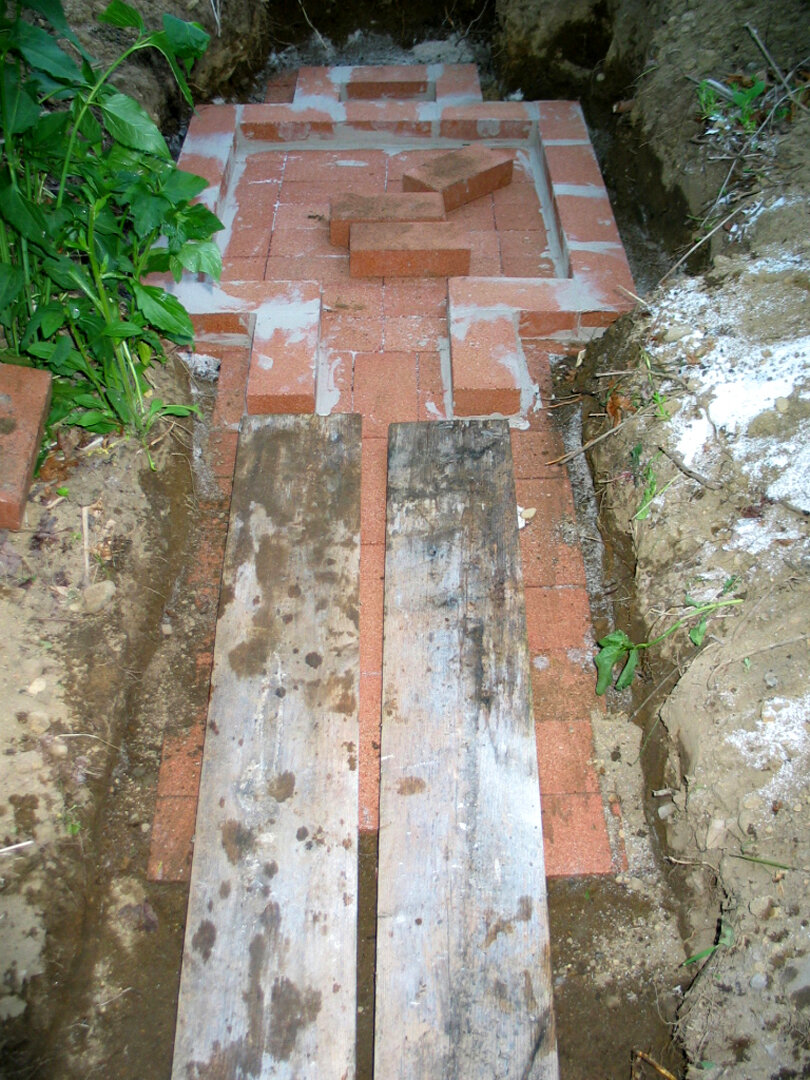
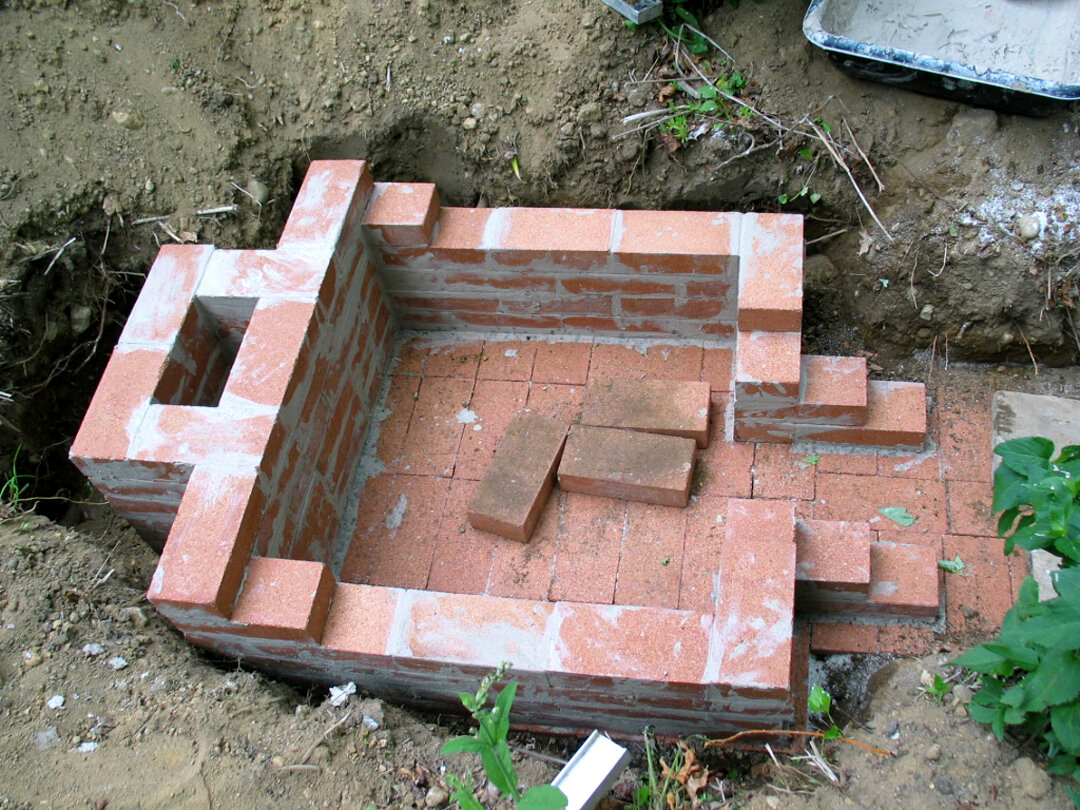
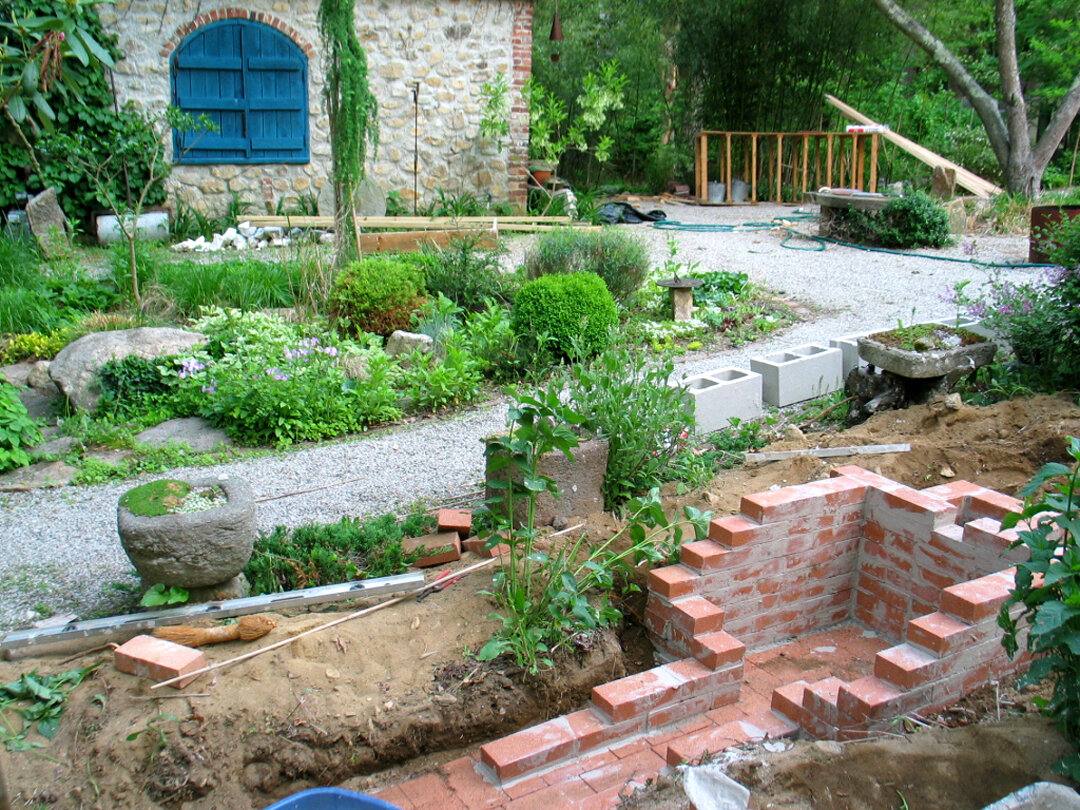
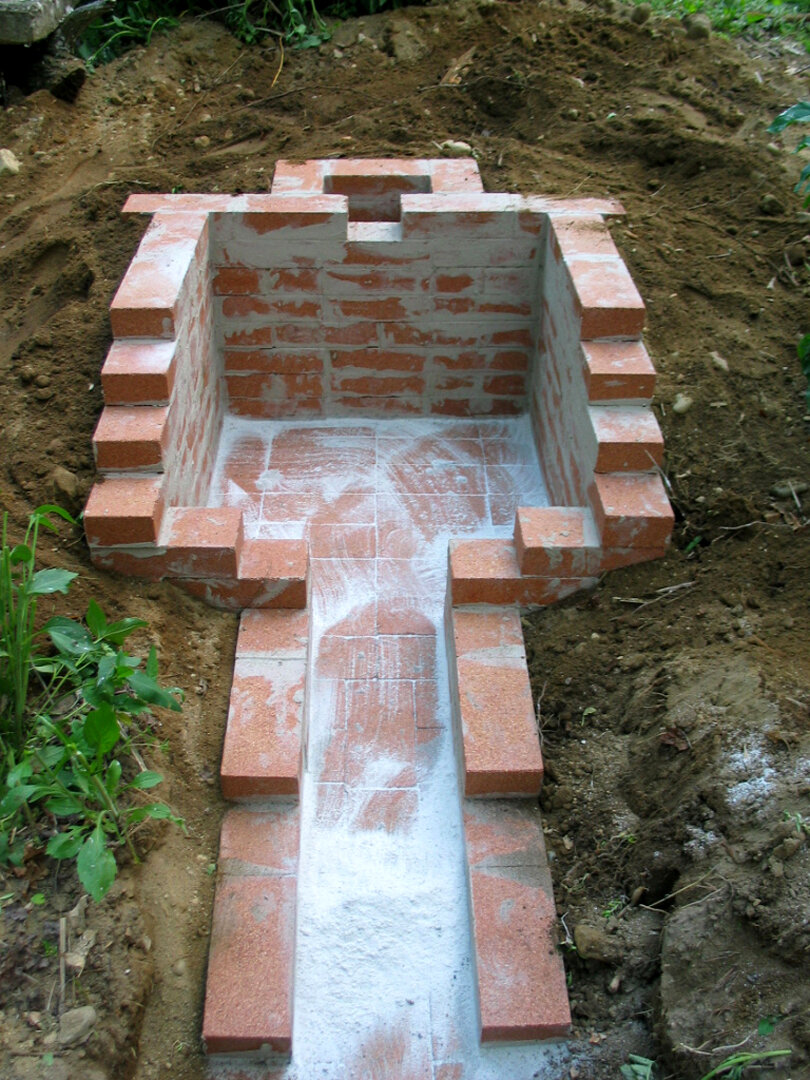
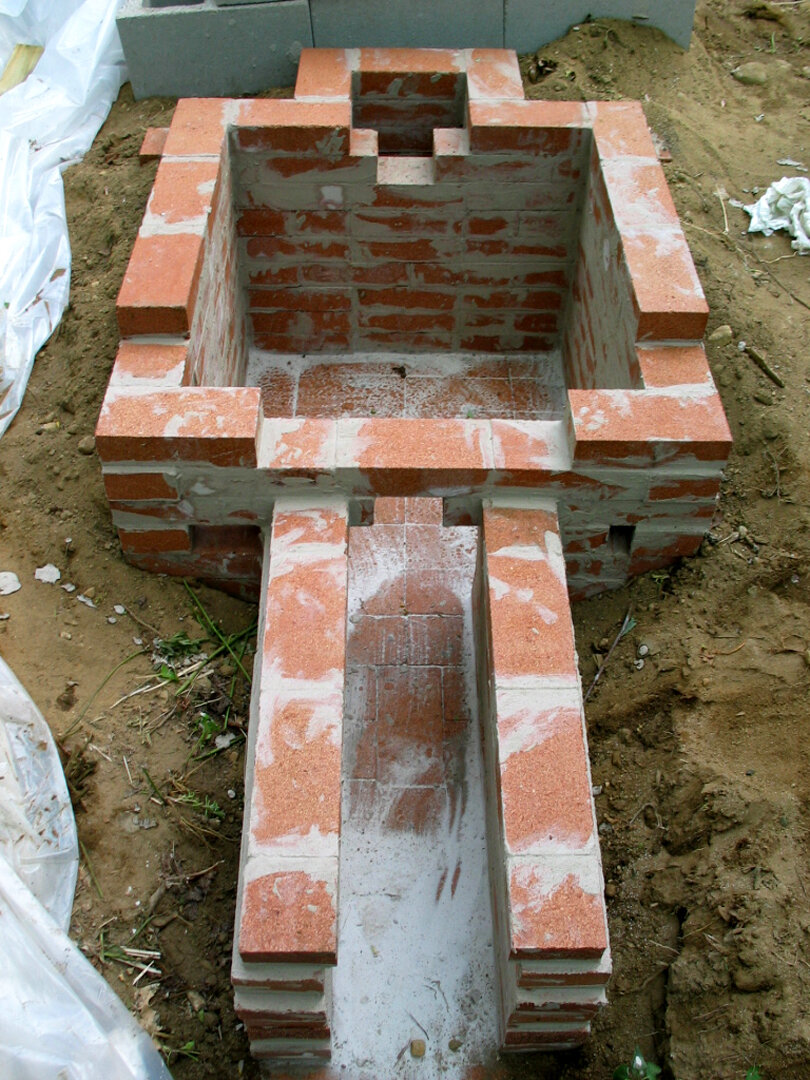
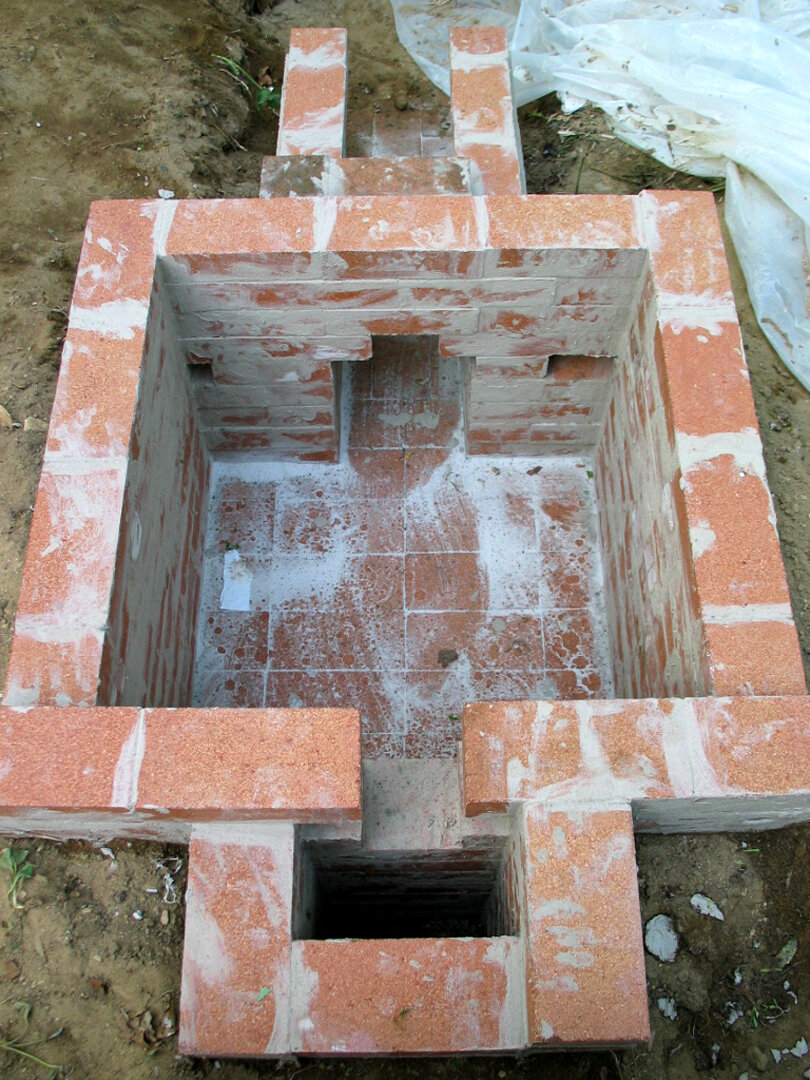
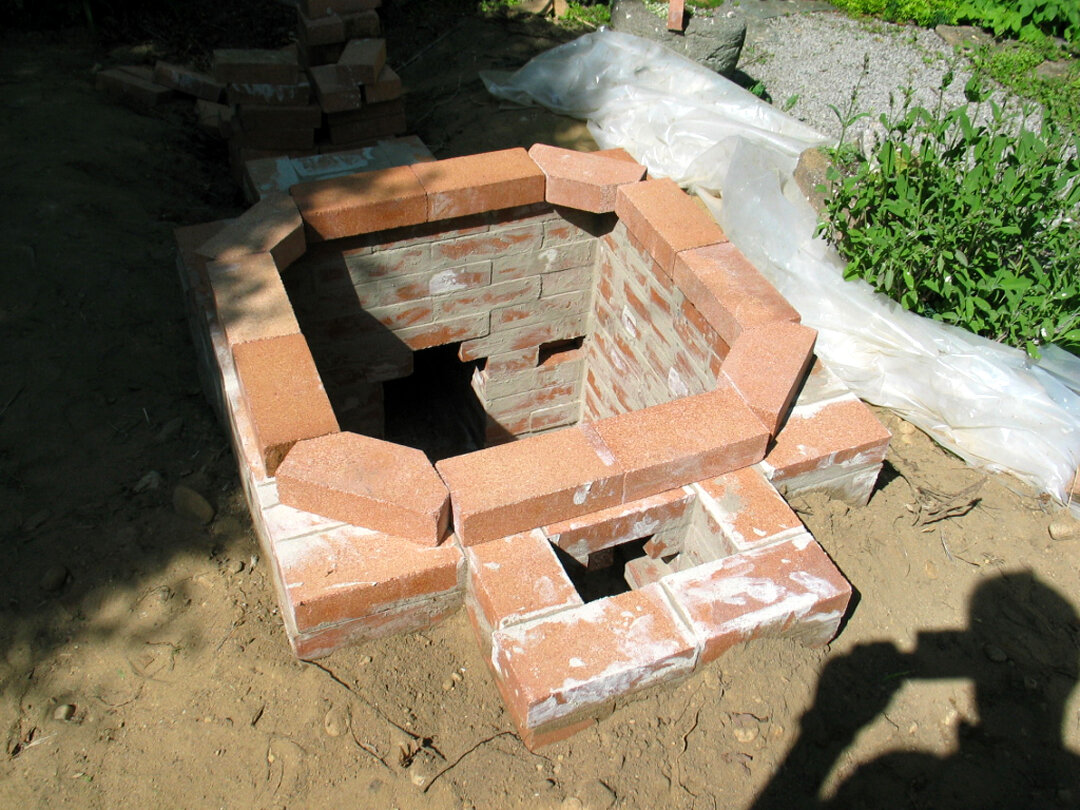
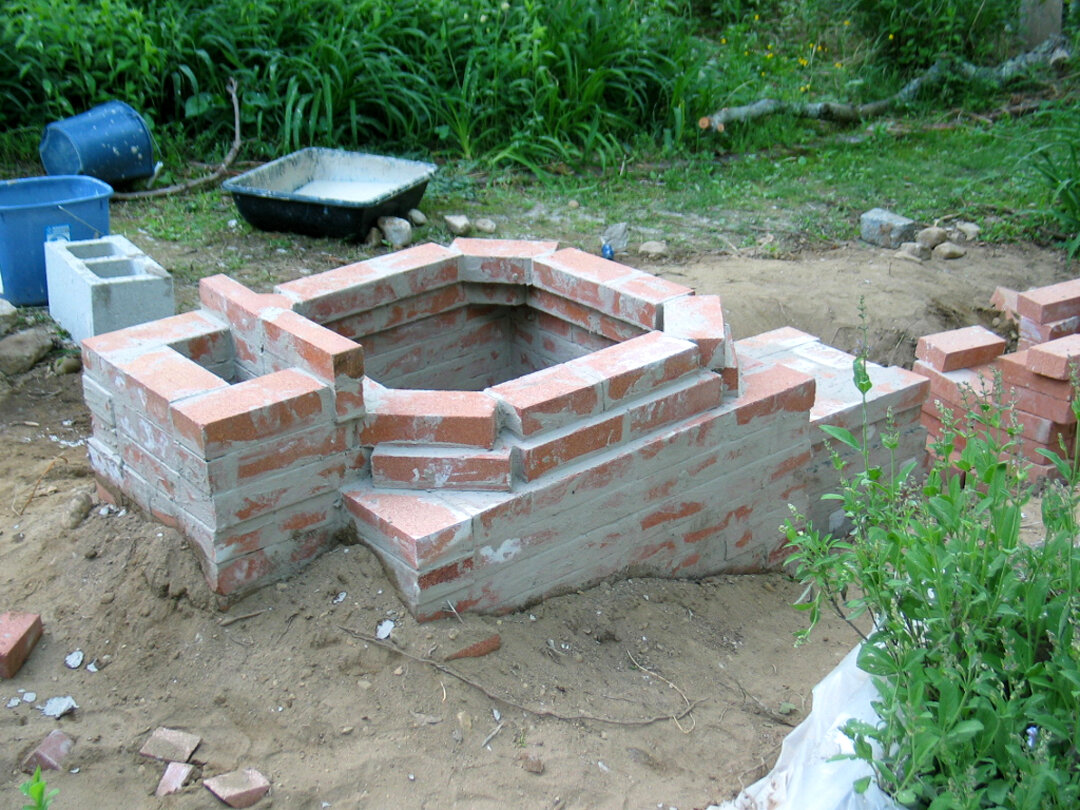
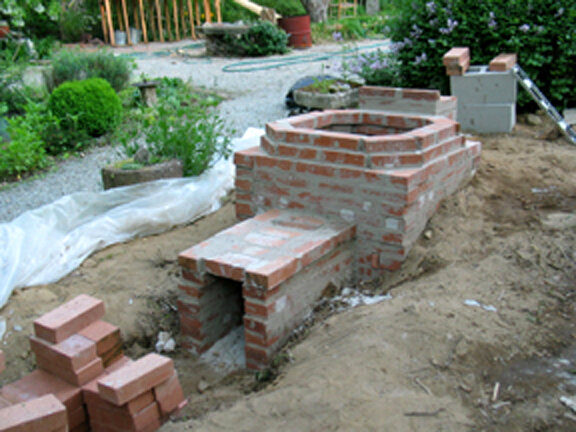
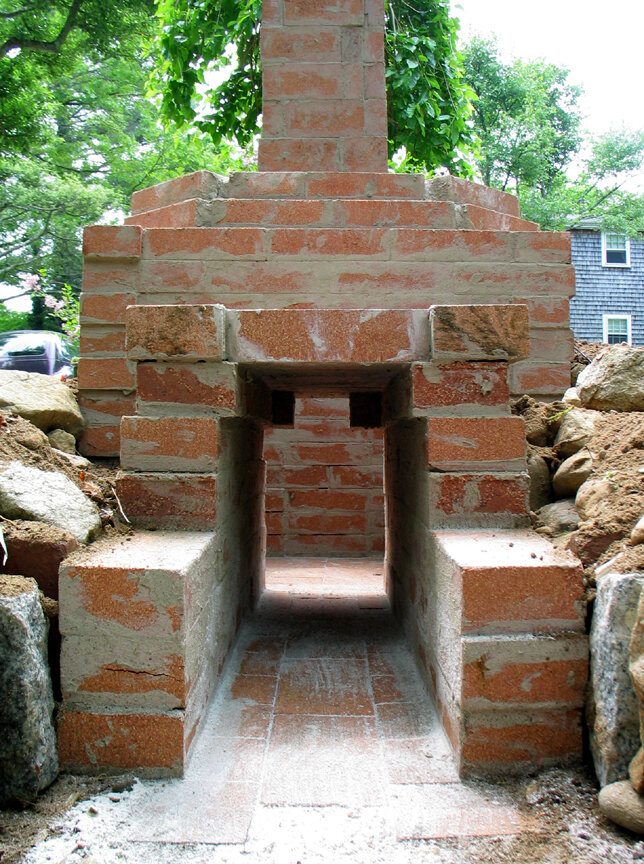
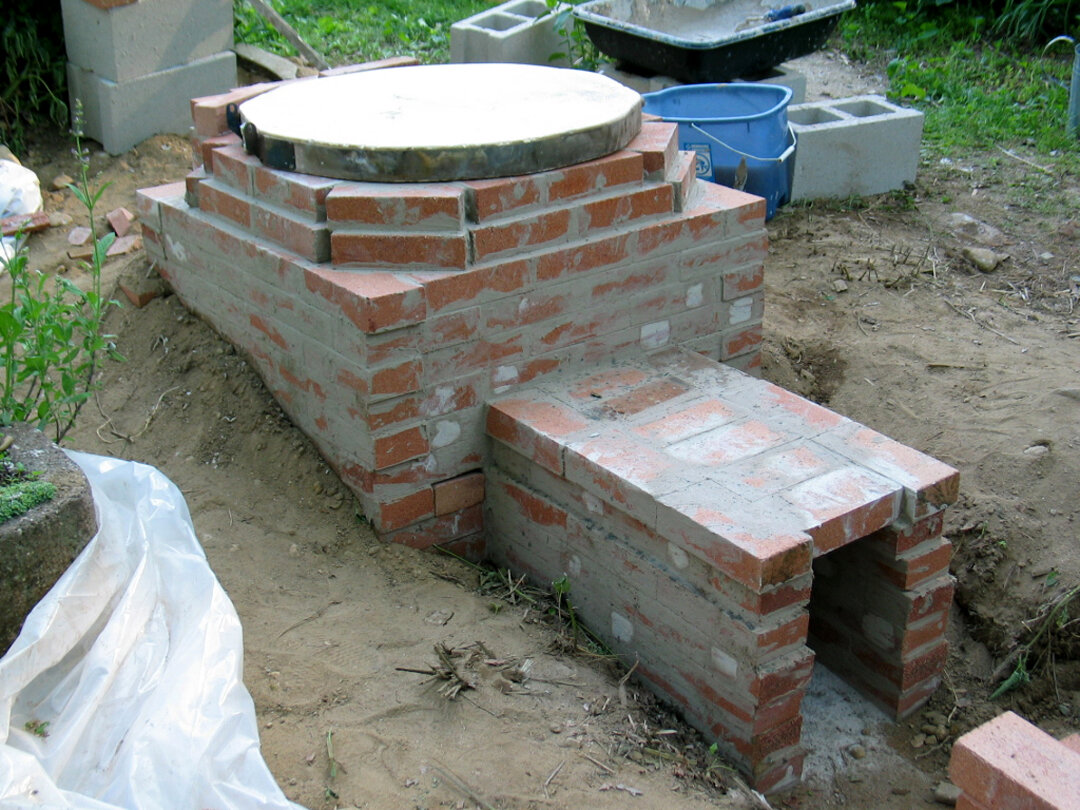
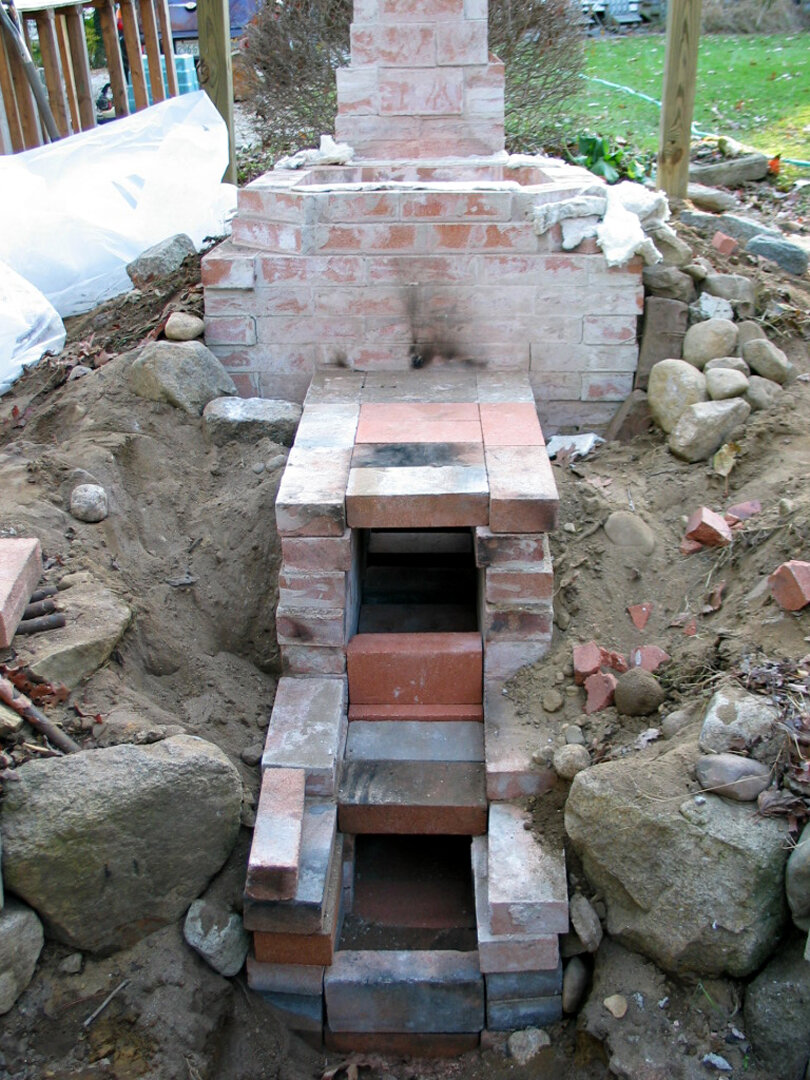
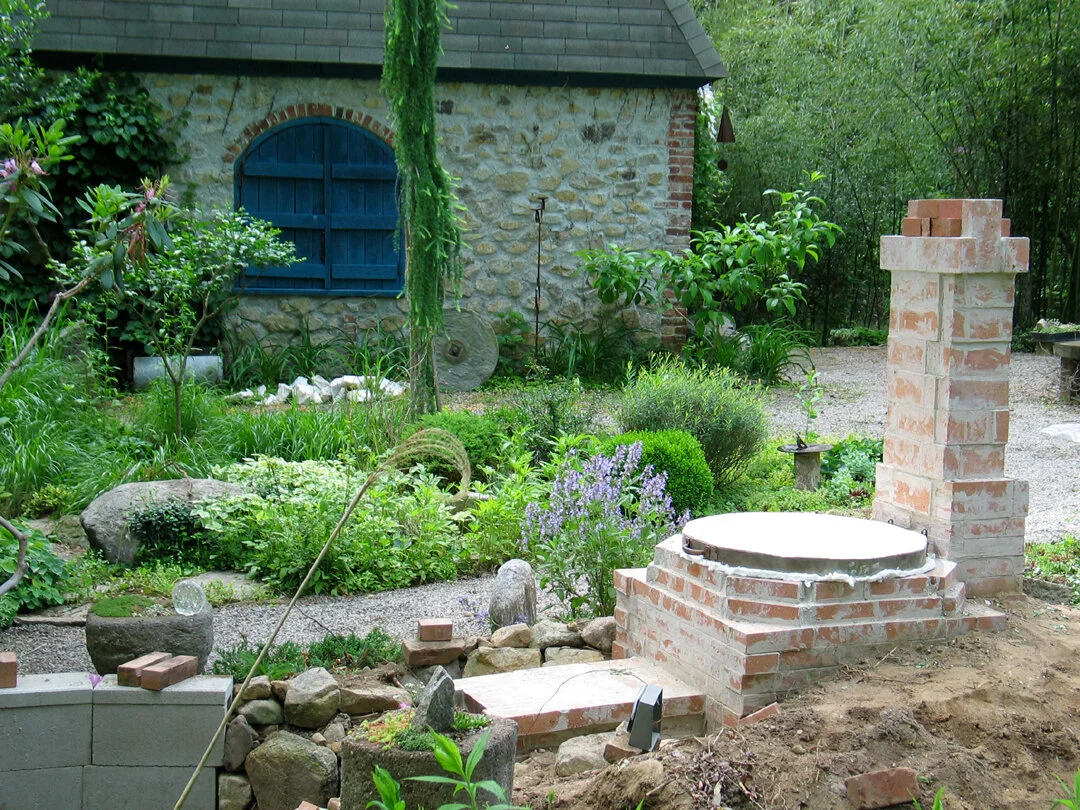
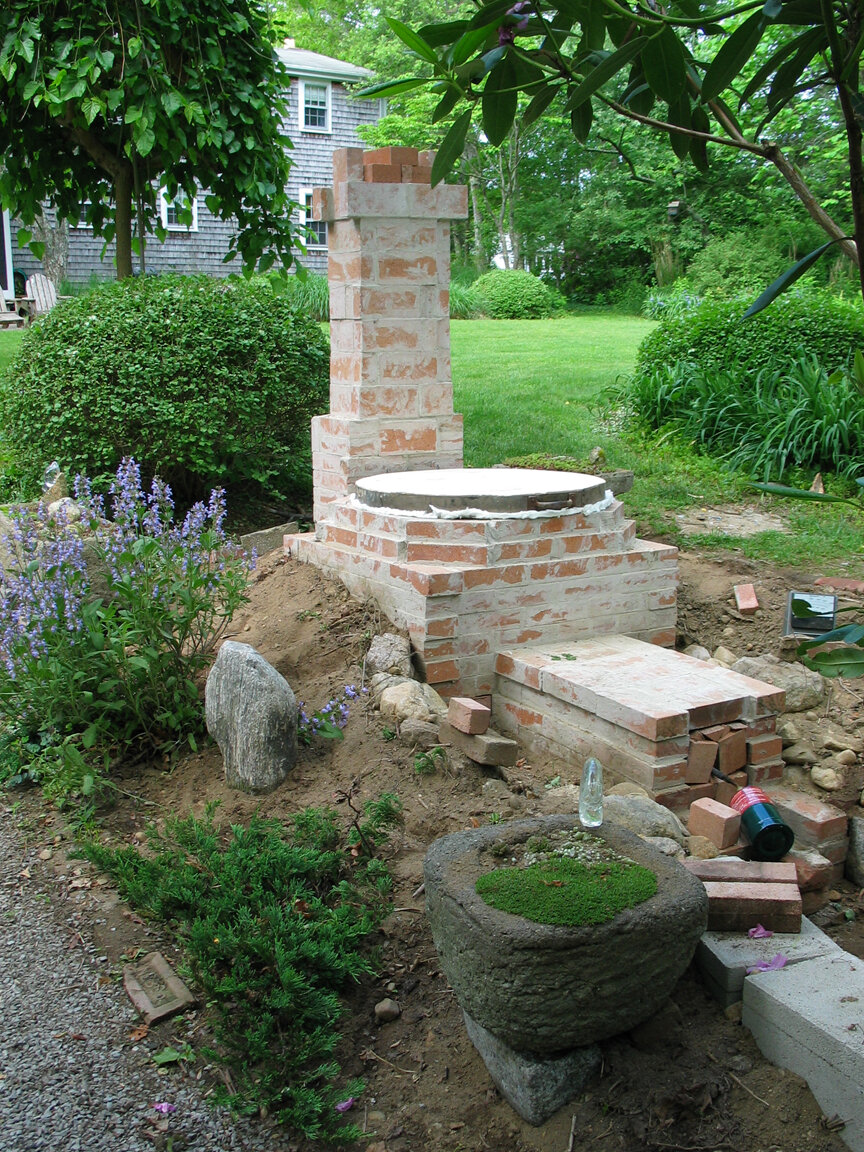
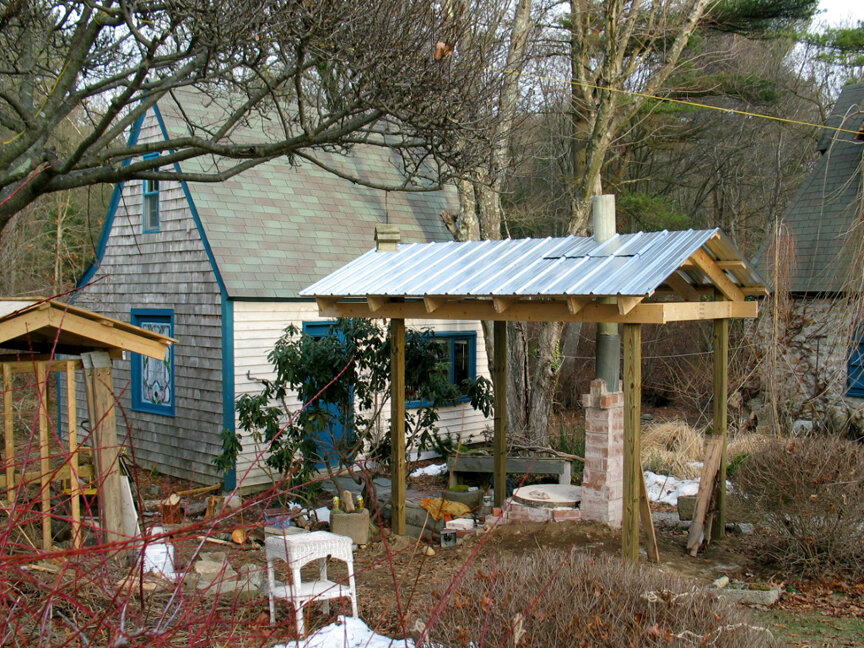
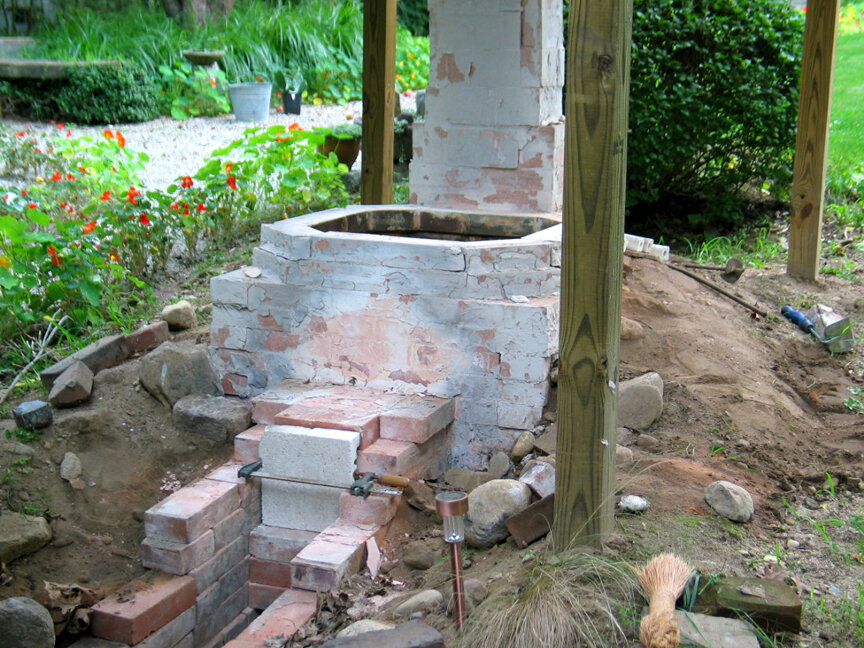
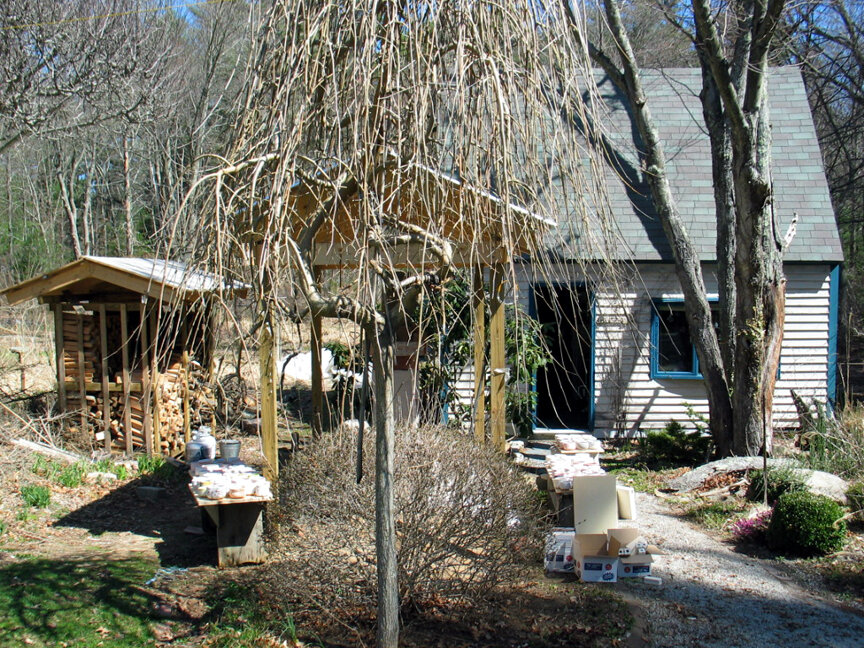
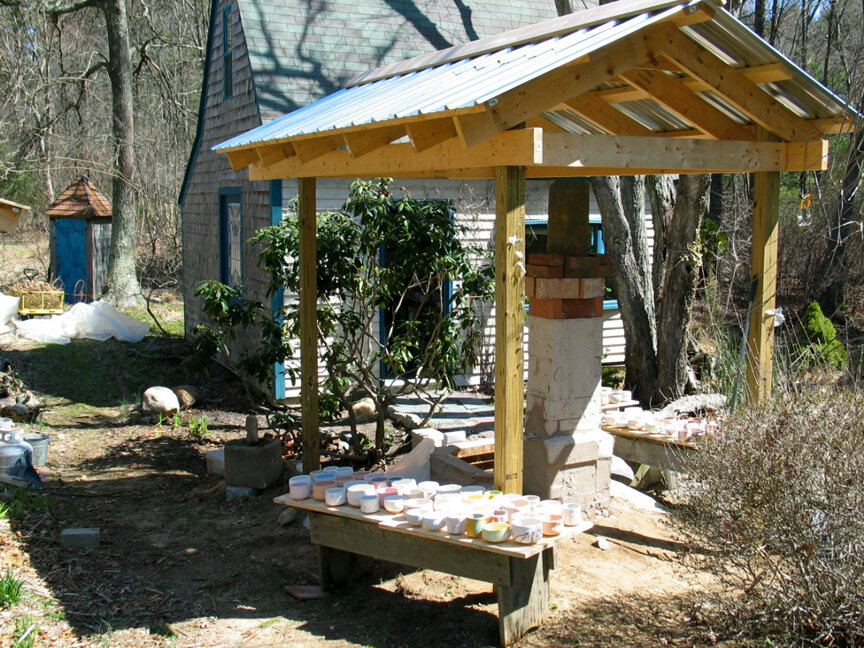
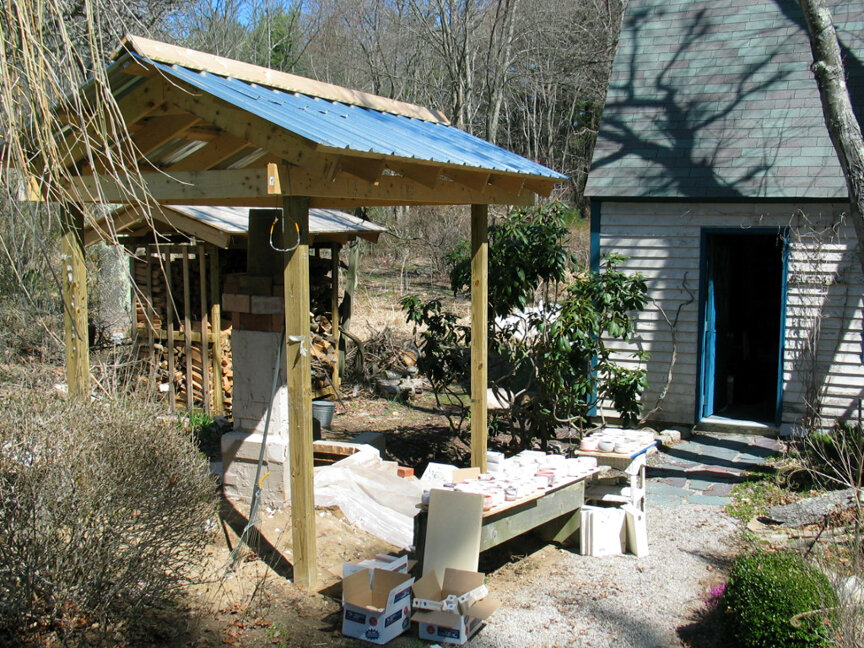
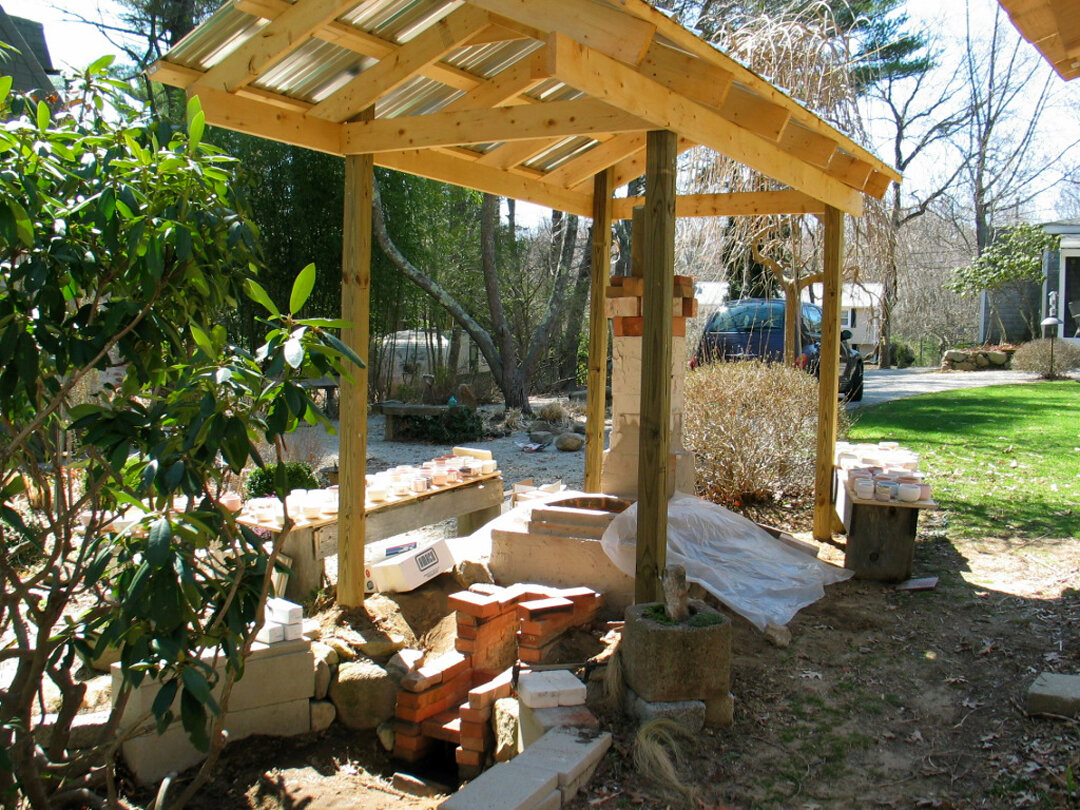
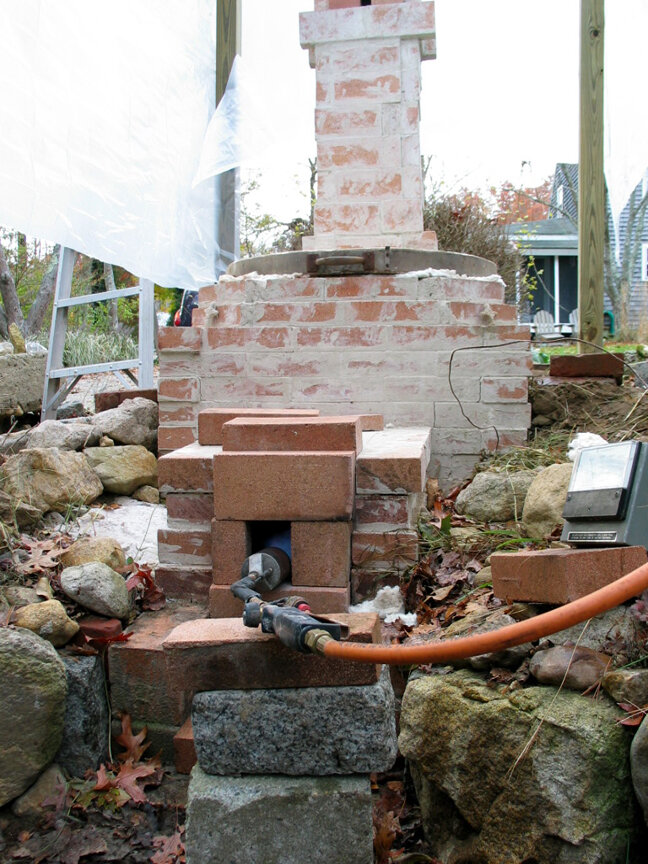
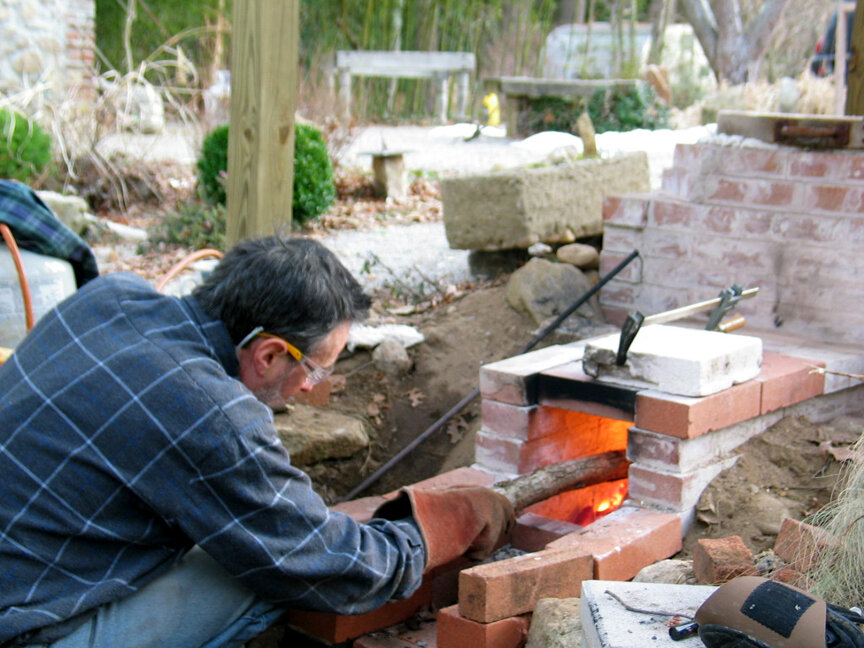
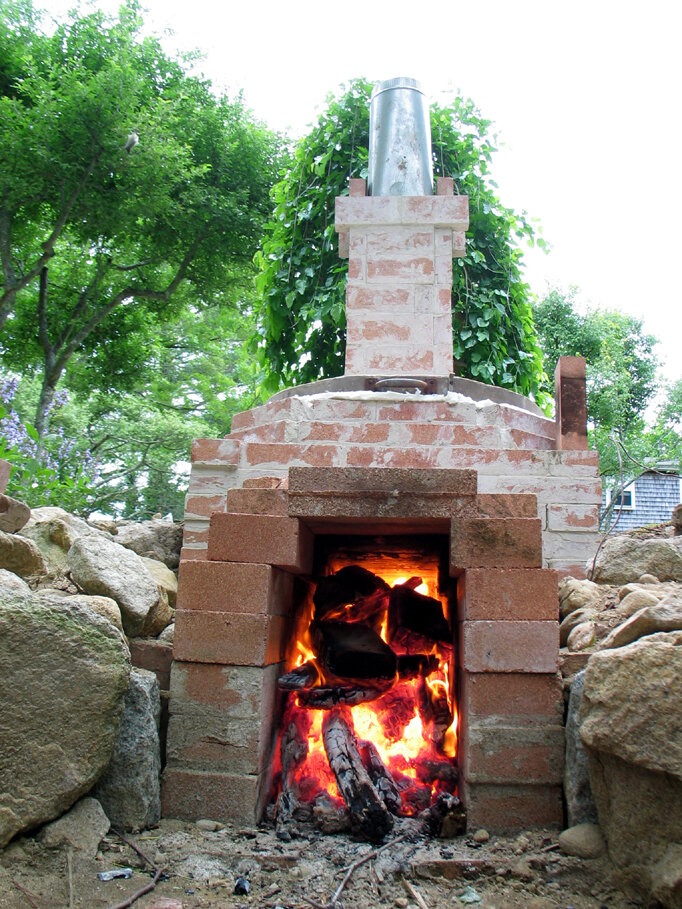
The first photo shows the location where the kiln will go, and the flower garden that was removed for the kiln. The second photo is laying out the bricks inside the studio to test size and layout for what will be built outside, and to determine the size and shape of the hole to be dug to minimize amount and shape of digging to be done. Firebrick was used throughout. Starting with digging out the area, laying the floor, and construction of the walls to the shape and size I wanted. After bringing the walls up in a square shape for the firing chamber, I added a couple more rows to narrow the top and bring it to a more octagon shape for the kiln top I already had. The firing chamber at the front was designed to be temporarily extended or shortened as wanted for each different firing, and a door was made for placing in front of the chamber to close off the air intake. A couple of preheats were done to dry it out, and a chimney was built that eventually extended up about 15 feet (not shown here). With a reduction firing, the flames would shoot out about 8 feet above the top of the chimney, quite dramatic, and when (if) I find a photo of that I will post it here as well. A roof covering was also erected, with a wooden covering that was put on when not firing, and removed for the chimney sections to be added through the roof when firing.
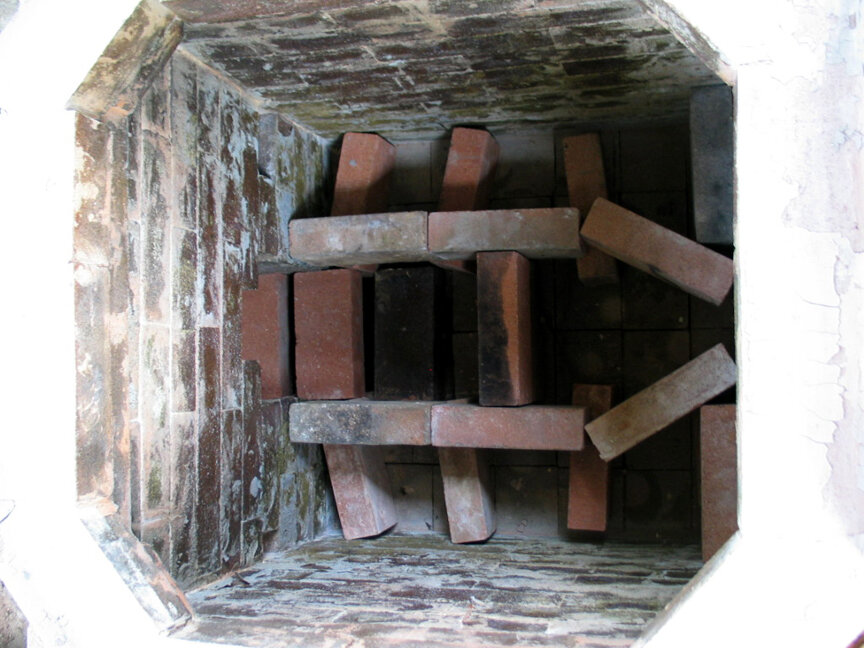
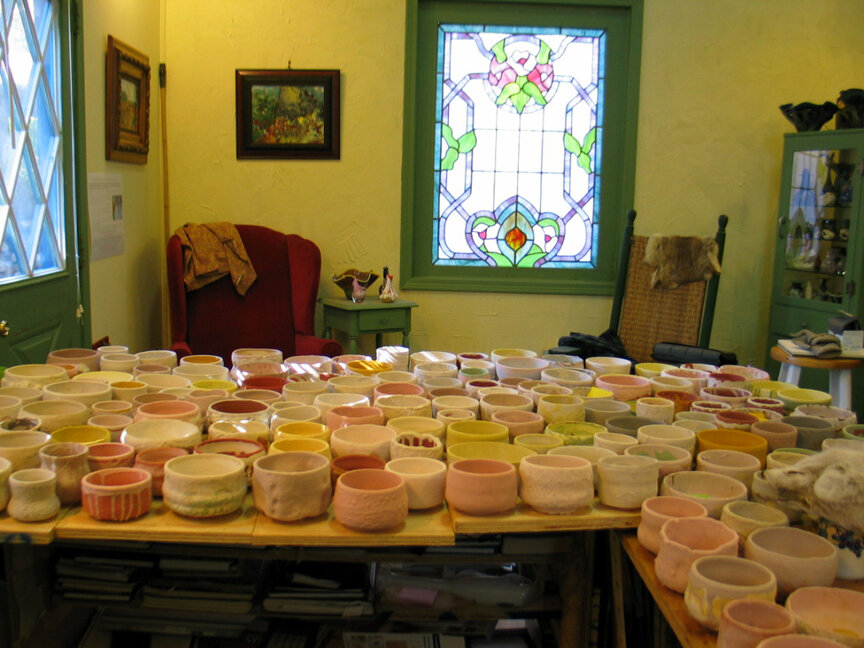
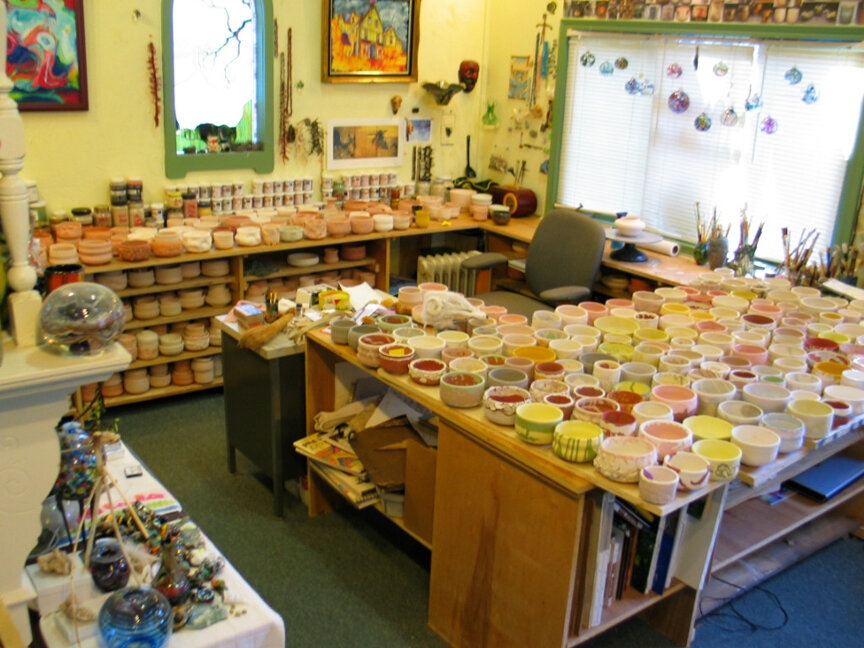
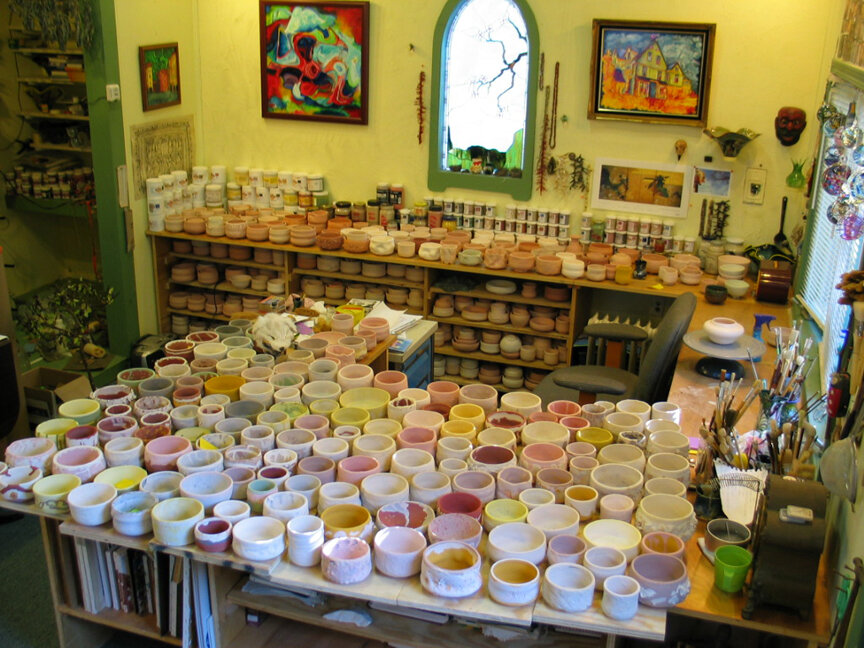
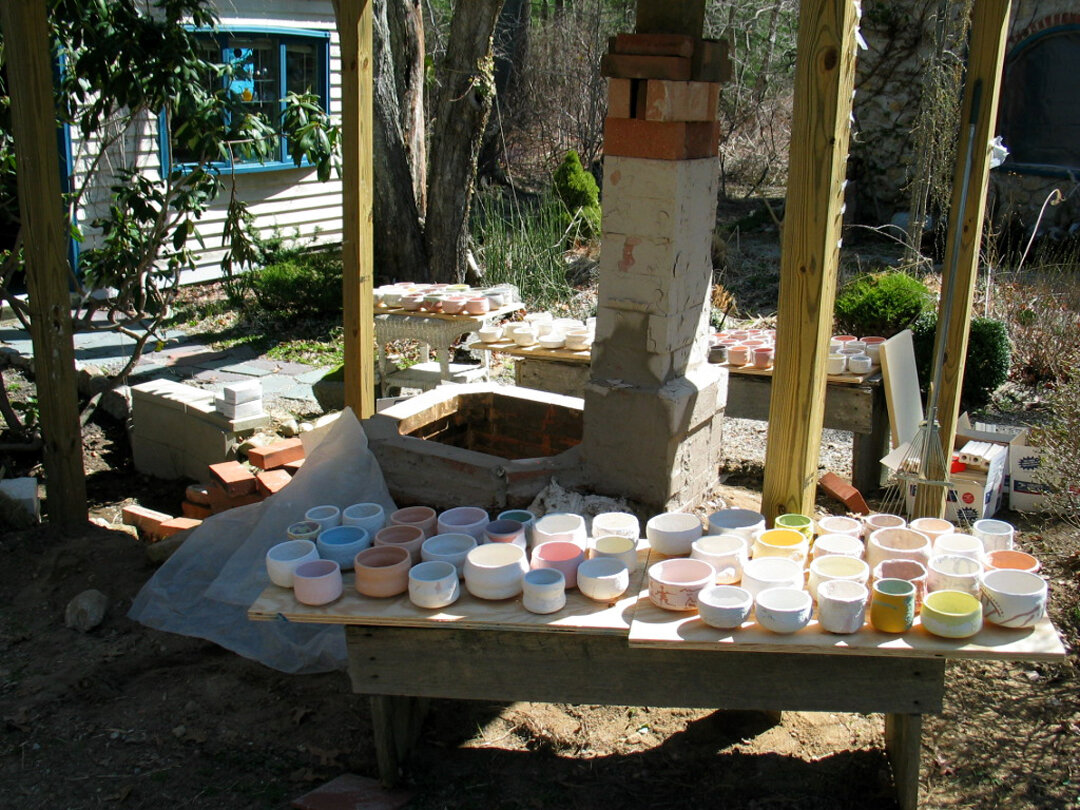
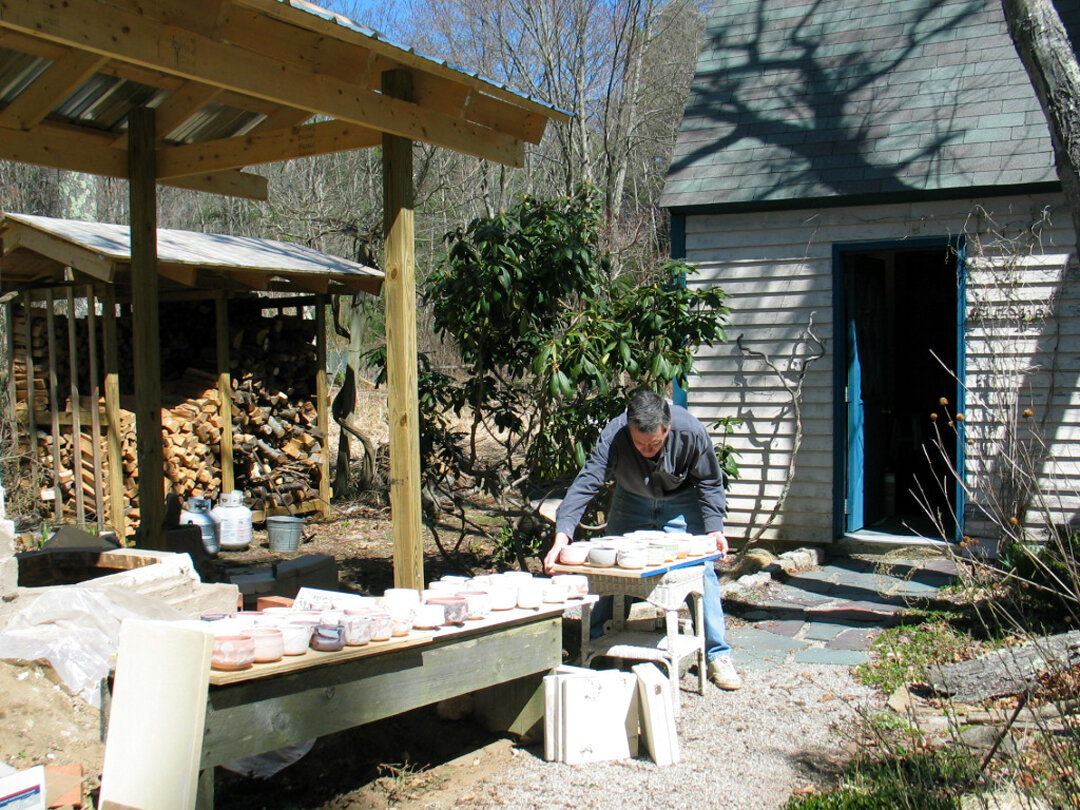
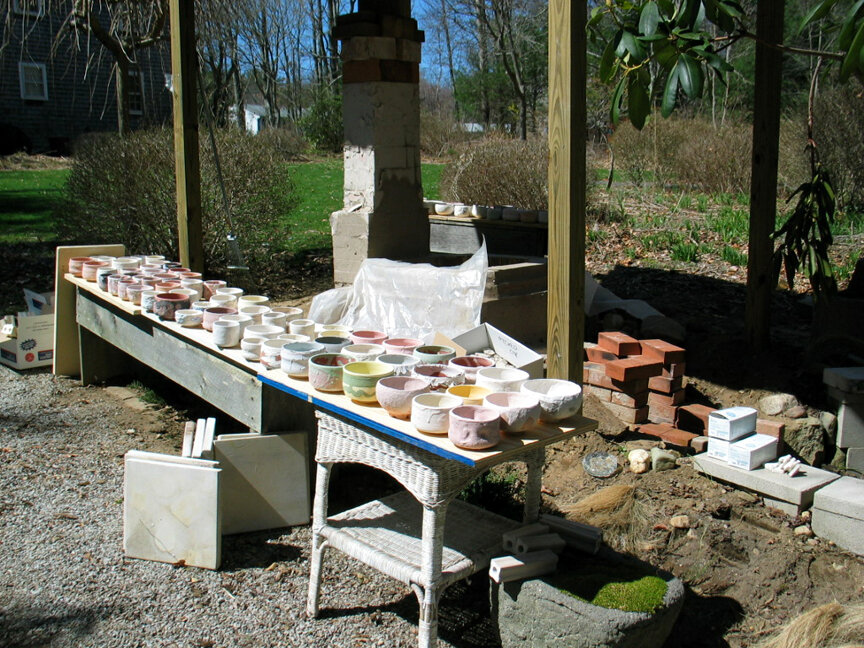
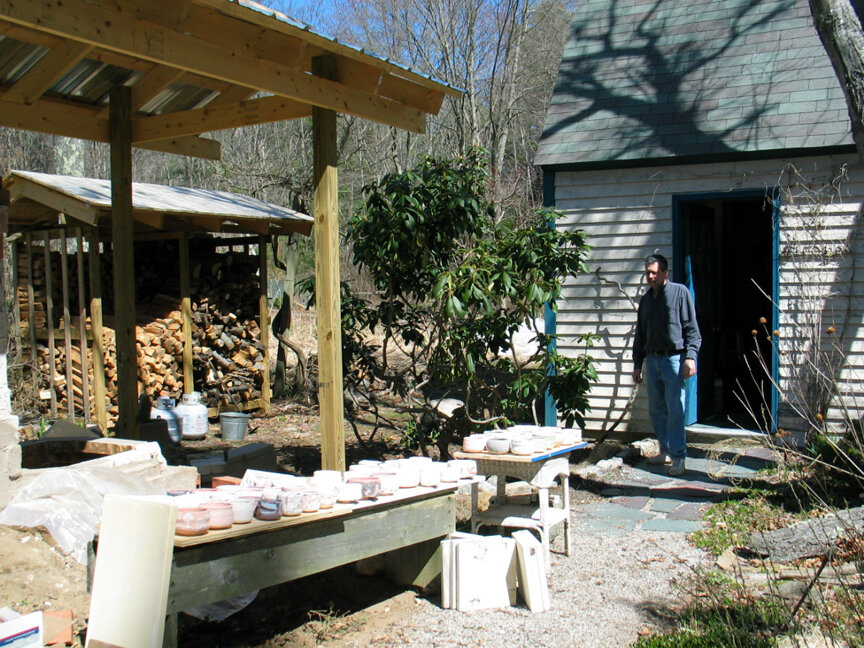
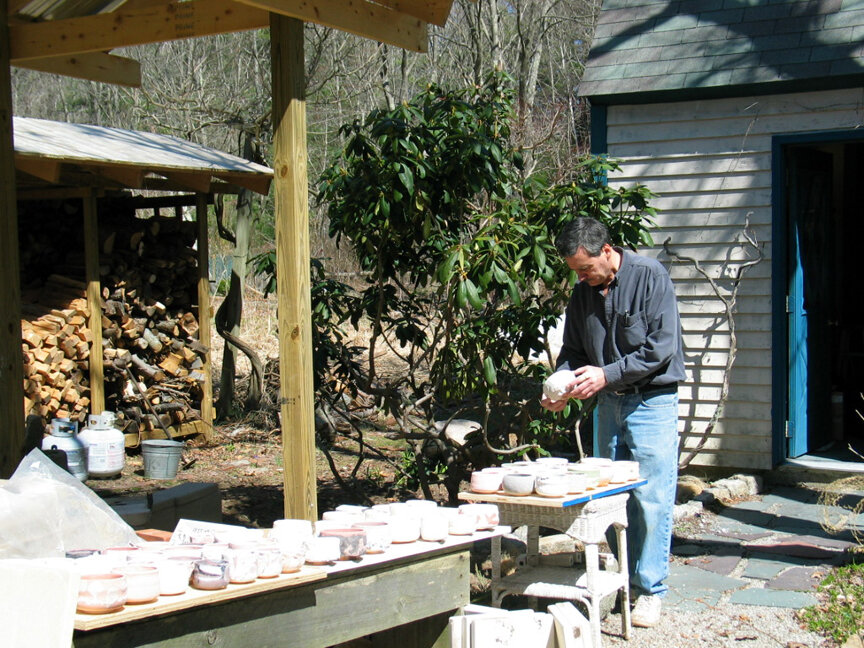
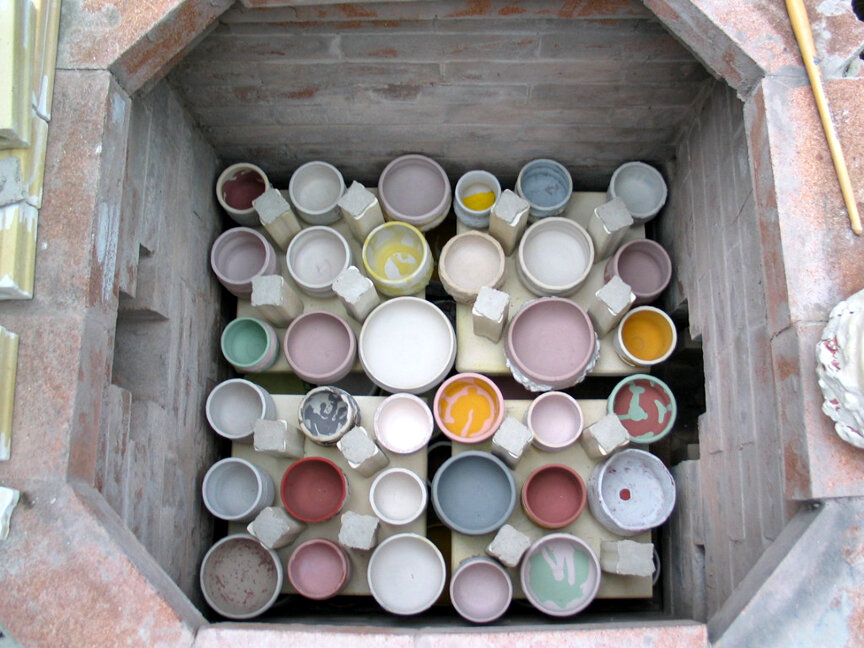
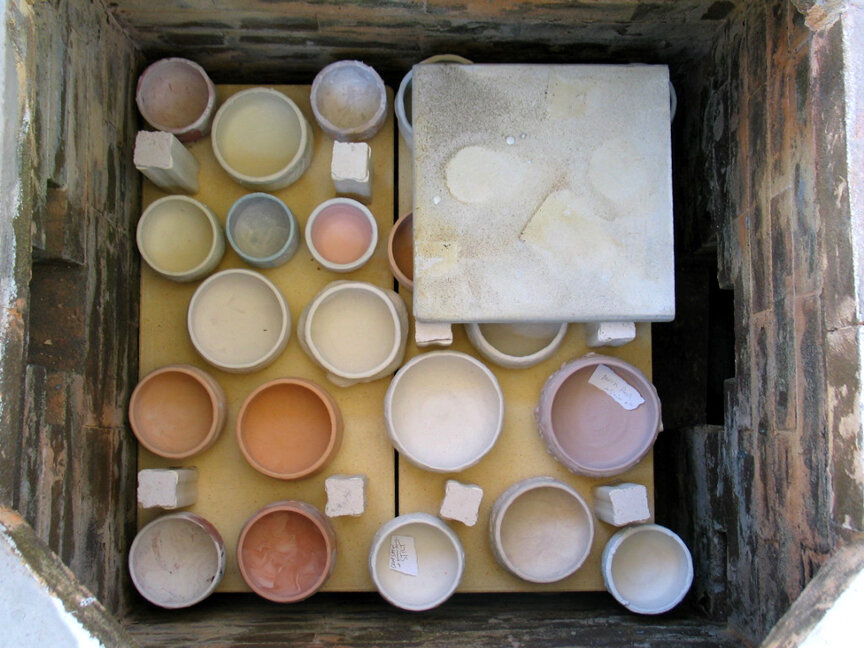
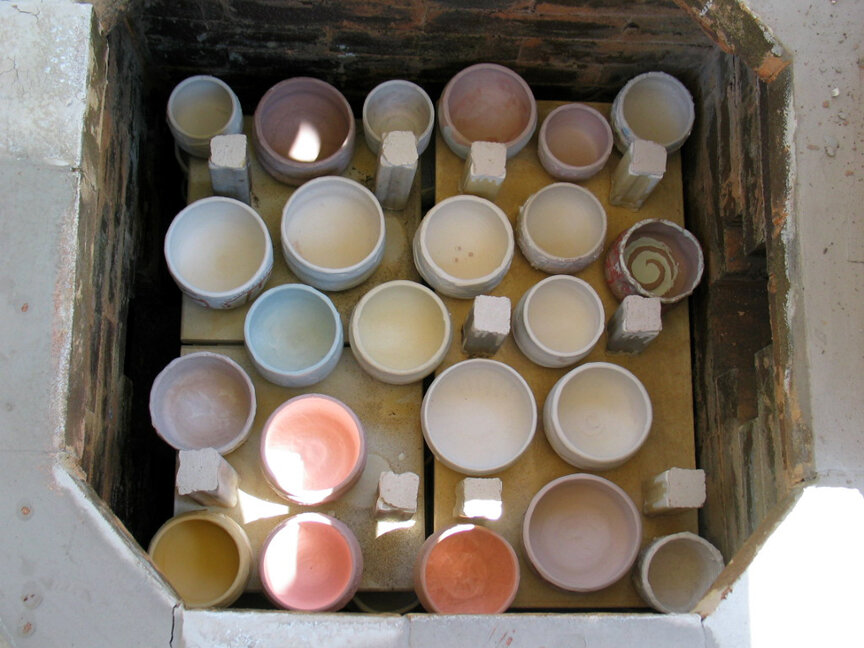
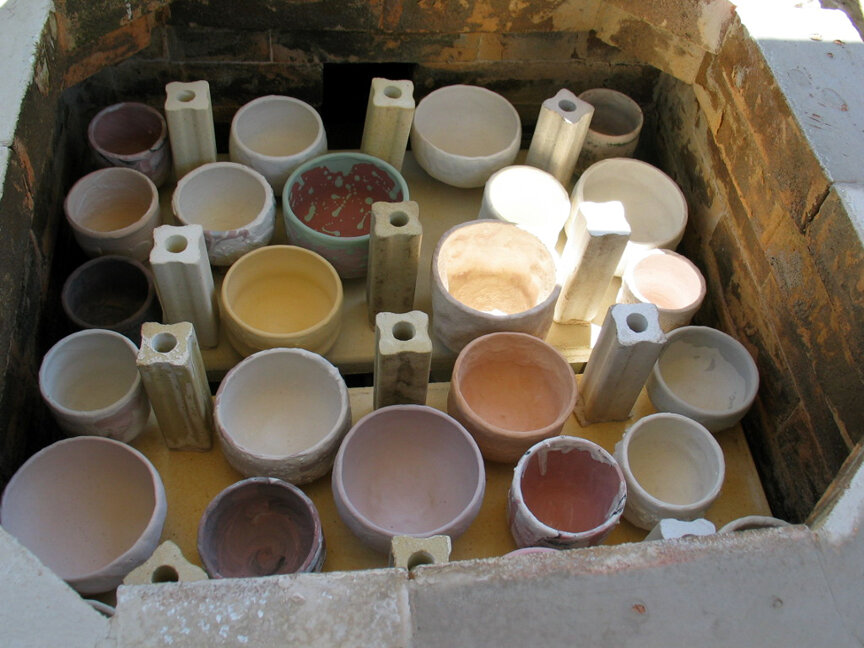
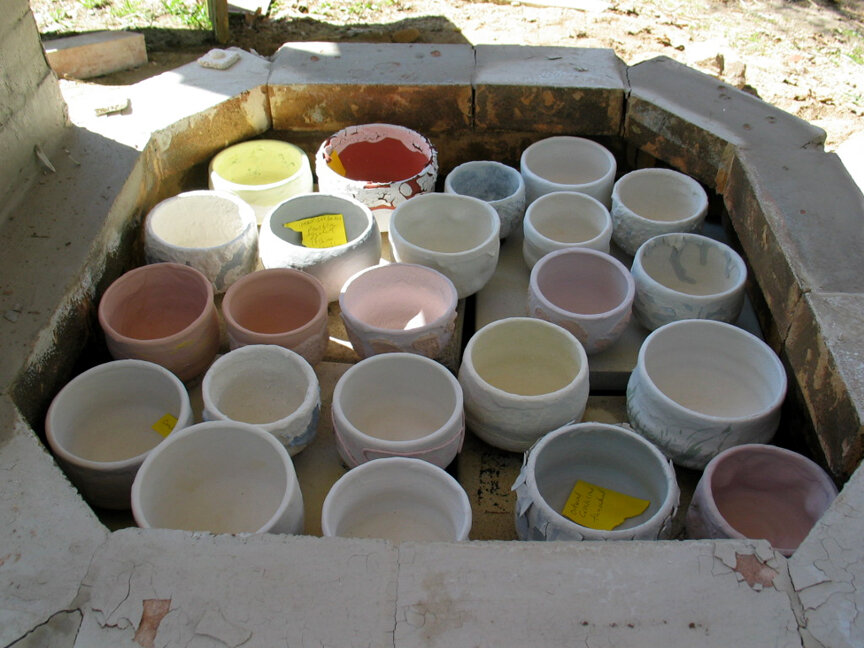
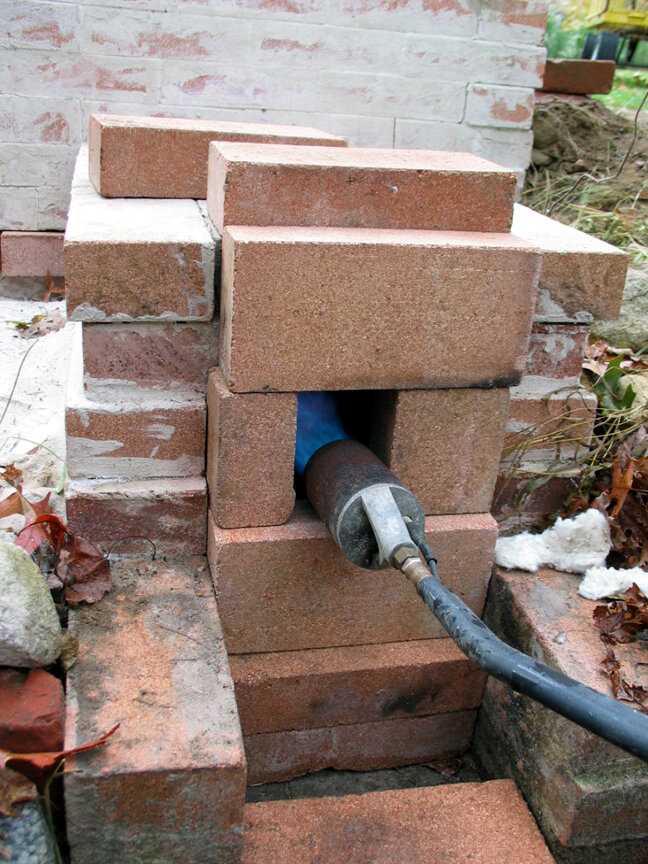
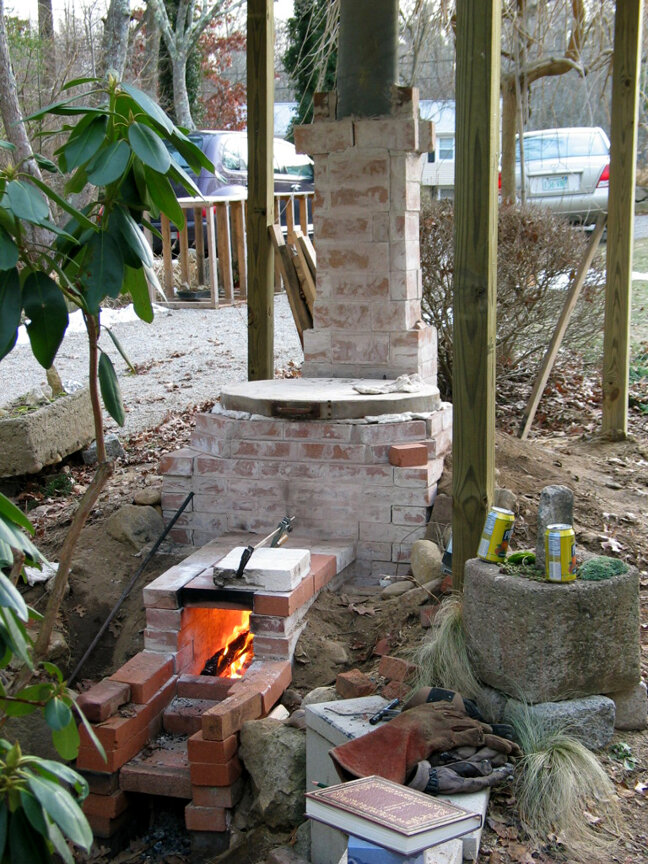
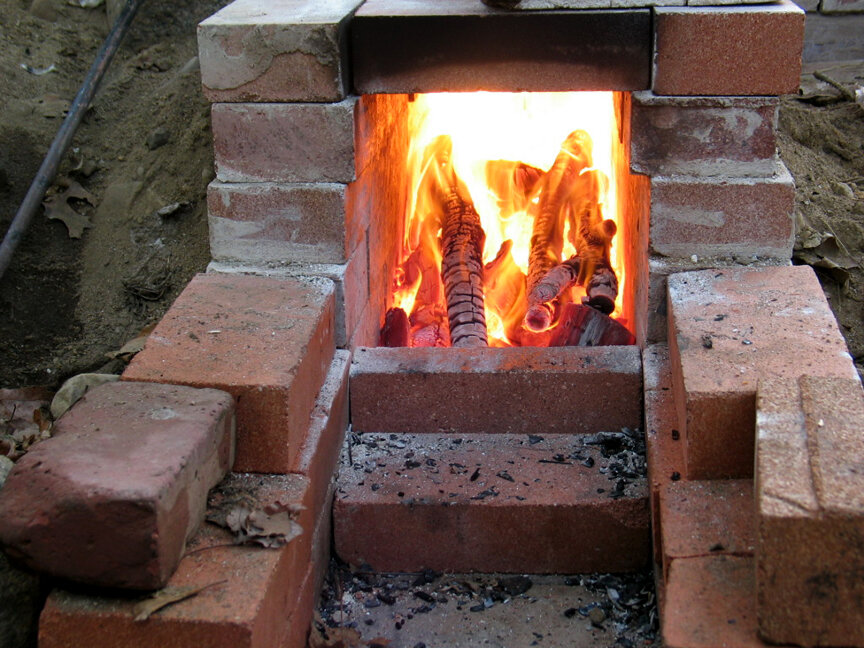
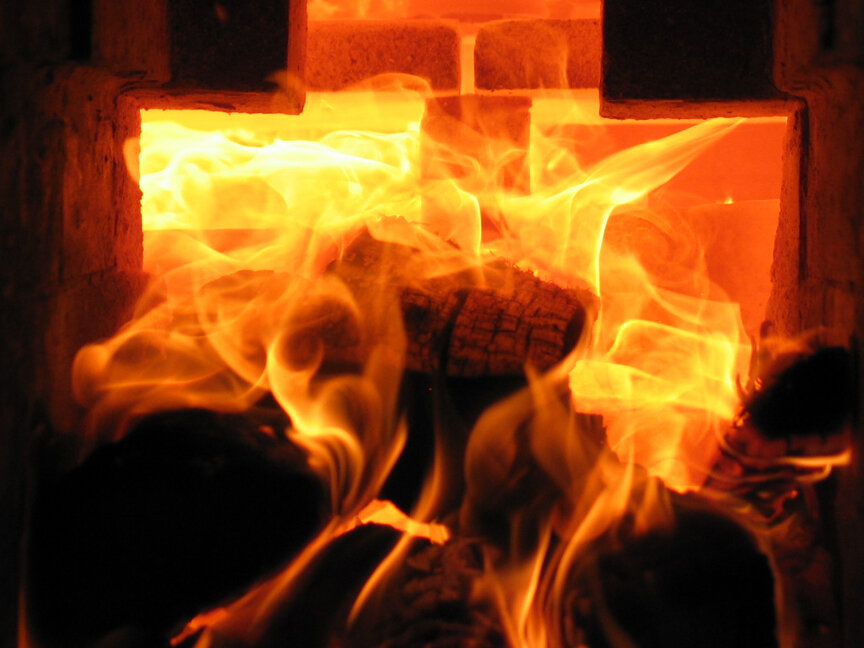
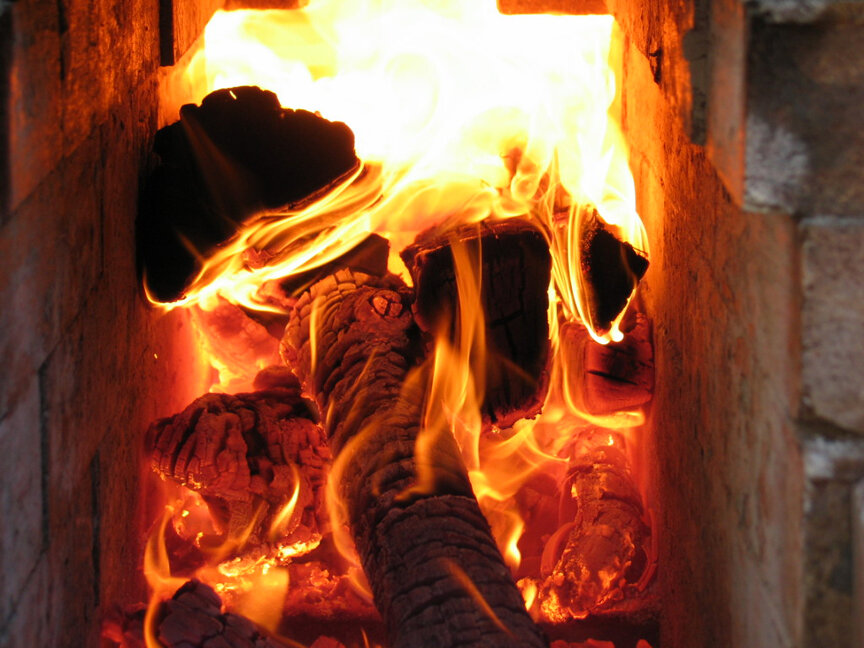
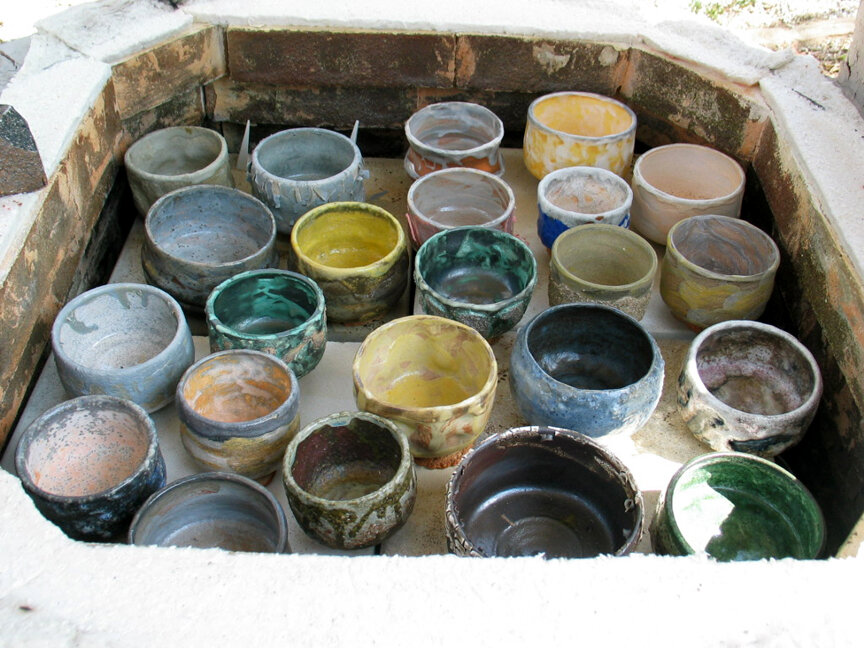
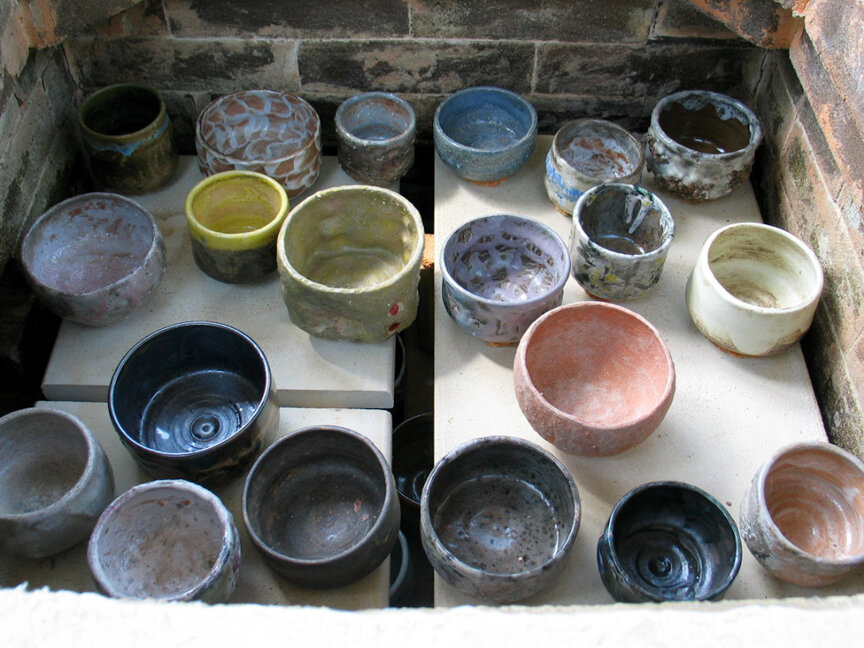
Other photos show my painting and glazing studio, and many of the teabowls that would be fired in this kiln, as well as bringing them out and loading them into the kiln. I built the flue exit and burning chamber and entrance with interior brick arrangements in mind, all helping to direct flame flow through the kiln. This allowed varying effects on the pieces depending on where in the kiln they were place, and what was placed around them. It also allowed for selective salt placement and other materials to effect some pieces more than others, or to leave distant pieces un-effected. I show a couple of photos of the fire to show how the fire twirled and moved when entering the kiln, and how white hot the interior gets. Temperatures reached over 2100 degrees F. The front section allowed adding and removal of bricks to control air entering for combustion or reduction, and varying thicknesses of wood were burned depending on what point in the firing and other factors. After building, there was a slow drying with a small propane torch, a weed burning, and small wood fires. Each firing was also started off slowly with either a small wood fire or the weed burner. The weed burner allowed less attention at this point in the firing, as once the full wood firing was started it required constant attention throughout the entire firing. When hot, the wood burns extremely fast and requires constant feeding and attention. I did quite a few pieces, mostly tea ware, in this kiln, and enjoyed all the hard work it required. When I sold this property, I dismantled the kiln and restored the garden, knowing that the buyer would not want a pottery kiln in their yard (and I did not want the responsibility of it being misused or posing a danger). In these photos are also a few views of 3 of the buildings I built on this property, the stone glassblowing shop, the painting and glazing studio, and the small tool shed at the entry to the woodland gardens. Other things I built on this property is a 20 ft. building of timber frame construction with brick and stone infill, and a 20 ft. addition to the house built post and beam with no nails at all in the framing, and the small attached mudroom, a small sunken greenhouse, and a few other odd things which I will try and show in future blogs.